Best Deadzone Settings for Fortnite (2026)
Your aim feels just a little off. Small corrections overshoot, or your camera drifts when your thumbs are nowhere near the sticks. Before you blame your sensitivity, check your deadzone. It is one of the most misunderstood settings in Fortnite, and dialing it in correctly makes your controller feel brand new.
This guide breaks down the best deadzone settings Fortnite players need in 2026: a proven starting point, a simple method to find the exact value for your own controller, and Apex Legends and Warzone sections too, since deadzone works the same way everywhere. No copied pro settings presented as gospel. Just a method that works for any pad.
What Is Deadzone, and Why Does It Matter?
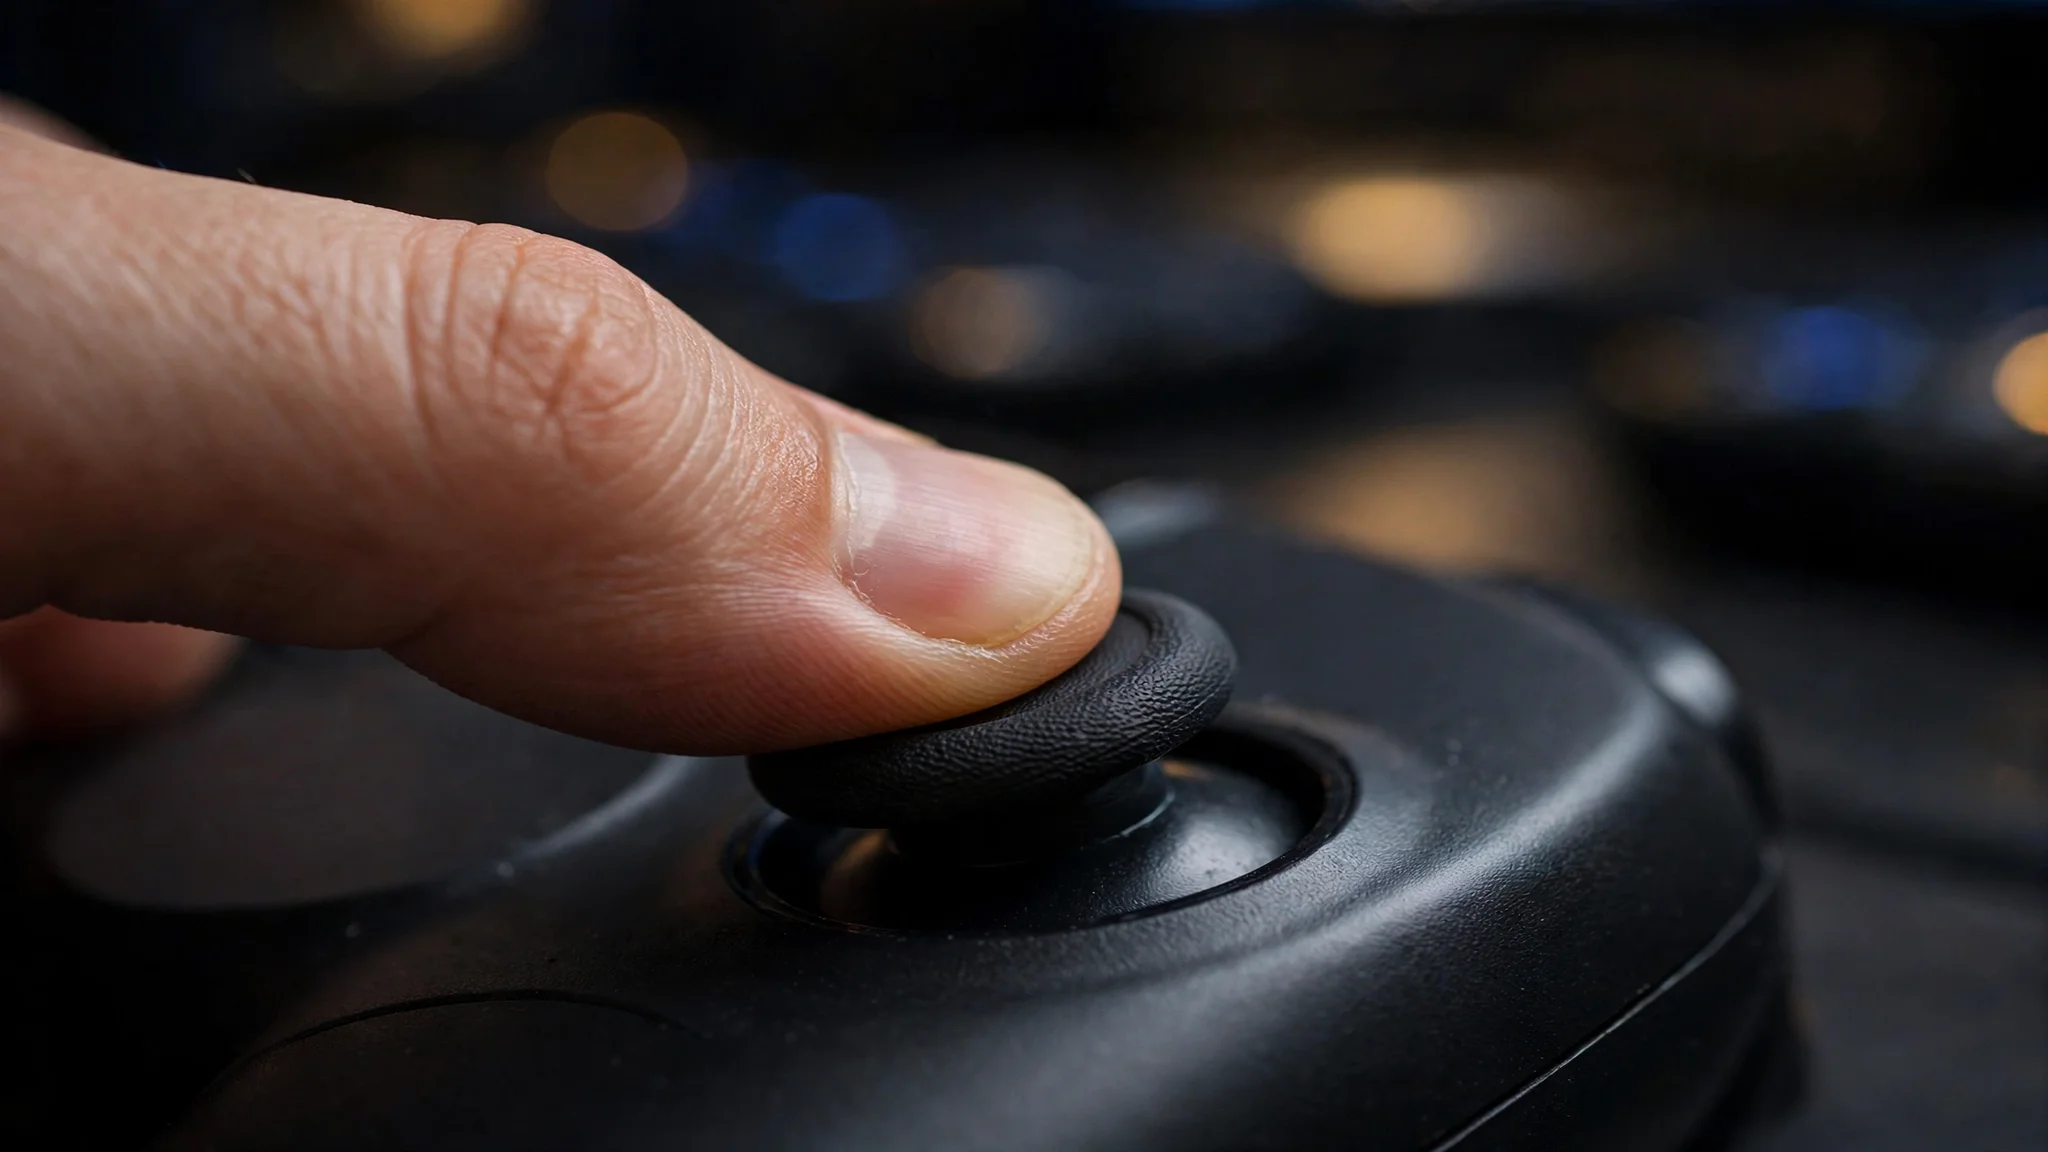
A deadzone is the amount you have to move your analog stick before the game registers any input. Think of it as a small ignored circle around the stick’s center position. Move inside that circle and nothing happens. Push past its edge and the game starts reading your input.
Every controller needs some deadzone because analog sticks never sit at a perfect zero. Even a brand-new stick reports tiny values when untouched, just from sensor noise and mechanical play. The deadzone filters out that noise so your character stands still and your camera stays put when your thumbs are off the sticks.
The trade-off is simple. A lower deadzone means the game reacts to smaller stick movements, so your aim feels more responsive and snappy. A higher deadzone hides stick wear and drift, but it adds a delay to every small correction because the first part of your stick movement gets ignored. Set it too low and your camera wanders on its own. Set it too high and your aim feels heavy and sluggish. The goal is the lowest value that does not drift.
The Best Deadzone Settings for Fortnite: Start at 5 to 8%
For most healthy controllers, the best deadzone settings for Fortnite land between 5% and 8% on both sticks. Set your Left Stick Deadzone to 5% and your Right Stick Deadzone to 5% as a baseline. The left stick controls movement and the right stick controls your aim and camera, and both benefit from the same low starting point.
Why this range? At 5%, the stick responds almost immediately to small movements, which is exactly what you want for tracking targets and making micro-adjustments in box fights. Going below 5% only helps if your stick is in perfect condition. Above 8%, most players start to feel the delay in small corrections, and your aim begins to feel muddy.
To change it, open Fortnite’s Settings, select the controller icon, and scroll to the deadzone options under the controller sensitivity section. Make sure you are adjusting both sticks, not just one. A common mistake is tuning the right stick for aim while leaving the left stick at a high default, which makes movement feel delayed even when aim feels great.
How to Find YOUR Exact Deadzone Value
Here is the method competitive players actually use. It takes five minutes and gives you a number matched to your specific controller, not someone else’s.
Load into Fortnite Creative mode or an empty island. Stand completely still and take your thumbs off both sticks. Watch your character and your camera for a full 30 seconds. If your character moves without input, your left stick needs a higher deadzone. If your camera drifts, your right stick needs a higher deadzone.
Raise the drifting stick by exactly 1% and test again. Repeat until the drift stops completely, then stop raising it. That final number is your personal deadzone. Do the same test separately for each stick, because sticks wear unevenly. Your right stick usually wears faster since aiming puts more mileage on it.
Retest every few months. Sticks wear down with use, and a value that was perfect in January might drift by summer. If you find yourself raising the deadzone past 10 to 12%, your stick is likely developing real wear, and it is worth checking for stick drift with a proper tester before you keep masking it with higher values.
Stop Copying Pro Settings Blindly
Pro settings pages are useful references, but copying a pro’s deadzone is one of the most common mistakes in Fortnite. Published settings from prosettings.net show real pros all over the map: some run 5% on both sticks, others run 6%, and some run as high as 9 or 10% on the left stick with 8% on the right. That spread is not random. It reflects different controllers in different states of wear.
A pro’s 5% works because their controller is fresh or freshly replaced. Your two-year-old pad with thousands of hours on it cannot hold the same value without drifting. Controller age, stick tension, platform, and plain wear matter far more than the number itself. Use pro values as proof that the best deadzone settings Fortnite pros publish fall in the 5 to 8% range, then run the test above and trust your own result. Your controller, your number.
Deadzone Settings for Apex Legends
Apex Legends handles deadzones differently from Fortnite. Instead of percentages, it gives you preset options: None, Small, and Large, separately for Look Deadzone (right stick, aiming) and Movement Deadzone (left stick, moving).
Start with Small for both, the baseline multiple Apex settings guides (https://esportsinsider.com/apex-legends-best-settings) recommend. Small gives you fast, responsive stick behavior while still filtering out minor sensor noise. None is the fastest option and some competitive players use it, but it exposes even slight stick drift, so only choose None if your sticks are in genuinely perfect condition. Large hides wear but makes micro-aim feel sluggish, which hurts in a game built around tracking moving targets.
Pair your deadzone choice with the right response curve. Classic gives you a steadier stick center with more forgiveness for small errors, while Linear gives immediate stick response for players who can control fine corrections. Most controller players also turn vibration off, since hand shake during fights works against precise aim. If you use Advanced Look Controls, leave your deadzone at Small there too and tune yaw and pitch speeds separately.
Deadzone Settings for Warzone
Warzone gives you the most detailed deadzone controls of any major shooter, with separate minimum and maximum values for each stick plus trigger deadzones. The current competitive guidance, laid out in Dexerto’s Warzone settings guide (https://www.dexerto.com/wikis/warzone/best-controller-settings-warzone/), is straightforward: start low and raise only until drift stops.
A solid starting point is Left Stick Min 0 to 3, Right Stick Min 0 to 3, with both triggers at 0. Set Left Stick Max around 80 so your character hits full sprint sooner, and Right Stick Max near 99 so you keep full aim range. Warzone includes a built-in Test Stick Deadzone tool in the settings menu. Turn it on, move both sticks, release them, and watch the axis percentages. Those numbers show your actual stick drift, so you can set your minimums just above what your hardware reports. That is far more precise than guessing.
Set both trigger deadzones to 0 to turn them into hair triggers. Your shots and ADS will register the instant you start squeezing instead of waiting for a deep pull. As with Fortnite, your final numbers depend on your individual controller. A new Hall effect pad may hold 0 comfortably, while an older controller needs 3 or more.
Deadzone vs Stick Drift: Know the Difference
Deadzone and stick drift get confused constantly, so here is the clean distinction. Stick drift is a hardware problem: worn sensors report movement when the stick is untouched. Deadzone is a software setting: the game ignores small inputs near the center. Raising your deadzone hides drift, but it does not fix it. It just masks the symptom while adding input delay.
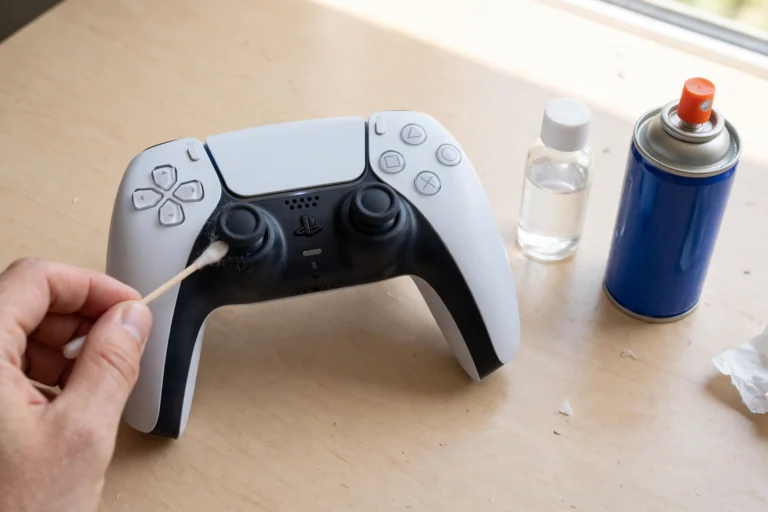
If you keep raising your deadzone and the drift keeps coming back, stop masking and test the hardware. Our free controller deadzone tester shows you exactly how far your sticks deviate from center, so you can see whether you are dealing with normal sensor noise or real wear. If the tester confirms drift, our stick drift guide walks through what to do about it, from cleaning to replacement. A healthy stick plus a low deadzone will always feel better than a worn stick hiding behind a high one.
FAQs
What is the best deadzone for Fortnite?
Start at 5% for both the left and right stick. That is the best deadzone settings for Fortnite baseline for most healthy controllers in 2026. Then test in Creative mode with your thumbs off the sticks and raise the drifting stick by 1% at a time until the drift stops. Your final number is your personal best.
Should left and right stick deadzone be the same in Fortnite?
They can start the same, but they do not have to stay the same. Test each stick separately because sticks wear unevenly. The right stick usually needs a slightly higher value since aiming wears it faster. There is no rule that both must match.
What deadzone do Fortnite pros use?
Published pro settings cluster between 5% and 10%, with most pros in the 5 to 8% range. But those numbers reflect their specific controllers. Copying a pro’s exact value without testing your own pad is a mistake, since controller age and wear change what each stick can hold.
Is 0 deadzone good for Fortnite?
Only if your stick is in perfect condition. Zero deadzone gives the fastest possible response, but it exposes every bit of sensor noise. Most controllers drift at 0%. If yours does not, enjoy it, but retest regularly because wear will eventually force the number up.
Why does my camera move by itself in Fortnite?
That is either a deadzone set too low for your stick’s condition or actual stick drift. Raise your right stick deadzone by 1% at a time until it stops. If you are already above 10% and it still drifts, test the stick hardware directly, because no setting fixes a genuinely worn sensor.