How to Fix Stick Drift Without Opening Controller
Stick drifting Tester and you don’t want to crack the controller open? Good news first: if the drift comes from dust, debris, or a calibration glitch, you can often fix stick drift without opening the controller at all. The honest part: if the stick’s internal sensor track is worn out, closed-shell fixes only buy time. This guide shows you how to tell which problem you have, then walks through every no-opening fix in the order you should try them, for PS5, Xbox, and Switch.
Step 0: Confirm It’s Actually Drift (30 Seconds)
How to Fix Stick Drift Without Opening Controller Don’t fix what isn’t broken. Some “drift” is just one game’s deadzone set too low.
Connect the controller to a PC or phone browser and open our free stick drift test. Let go of both sticks and watch the resting dot. A healthy stick sits dead center. A drifting stick rests off-center or wanders on its own.
While you’re there, note HOW bad it is, because that decides which fixes are worth your time. Our guide on how much stick drift is normal breaks down the severity levels: barely-there creep usually surrenders to a reset or a clean, while a stick that yanks hard the instant you let go is usually worn past what cleaning can save.
Also test on a second device if you can. Drift that follows the controller everywhere is the controller’s fault. Drift that only happens on one console can be a Bluetooth or software issue instead.
Which Fix Should You Try First?
| Your situation | Start with |
|---|---|
| Drift appeared suddenly overnight | Reset + firmware update (Fix 4) |
| Mild creep, worse after dusty storage | Press-and-rotate, then compressed air (Fix 1-2) |
| Drift keeps coming back | Contact cleaner (Fix 3) |
| Barely noticeable, only in precise aim | Deadzone tweak (Fix 5) |
| Cleaning helps for days, then drift returns | Warranty or module replacement |
Fix 1: Press and Rotate the Sticks (No Tools, 1 Minute)
The fastest fix, and the one Reddit’s PlayStation community swears by for mild cases.
- Press the drifting stick straight down until it clicks (L3 or R3).
- Keeping that pressure, rotate it slowly clockwise for about 10 seconds.
- Rotate counter-clockwise for 10 seconds.
- Release and retest.
Pressing down seats the stick against the sensor at a different angle than normal play, which knocks loose debris sitting in the contact path. It sounds too simple, but for drift caused by a trapped speck of dust, this alone ends it.
Fix 2: Compressed Air (5 Minutes, About $5)
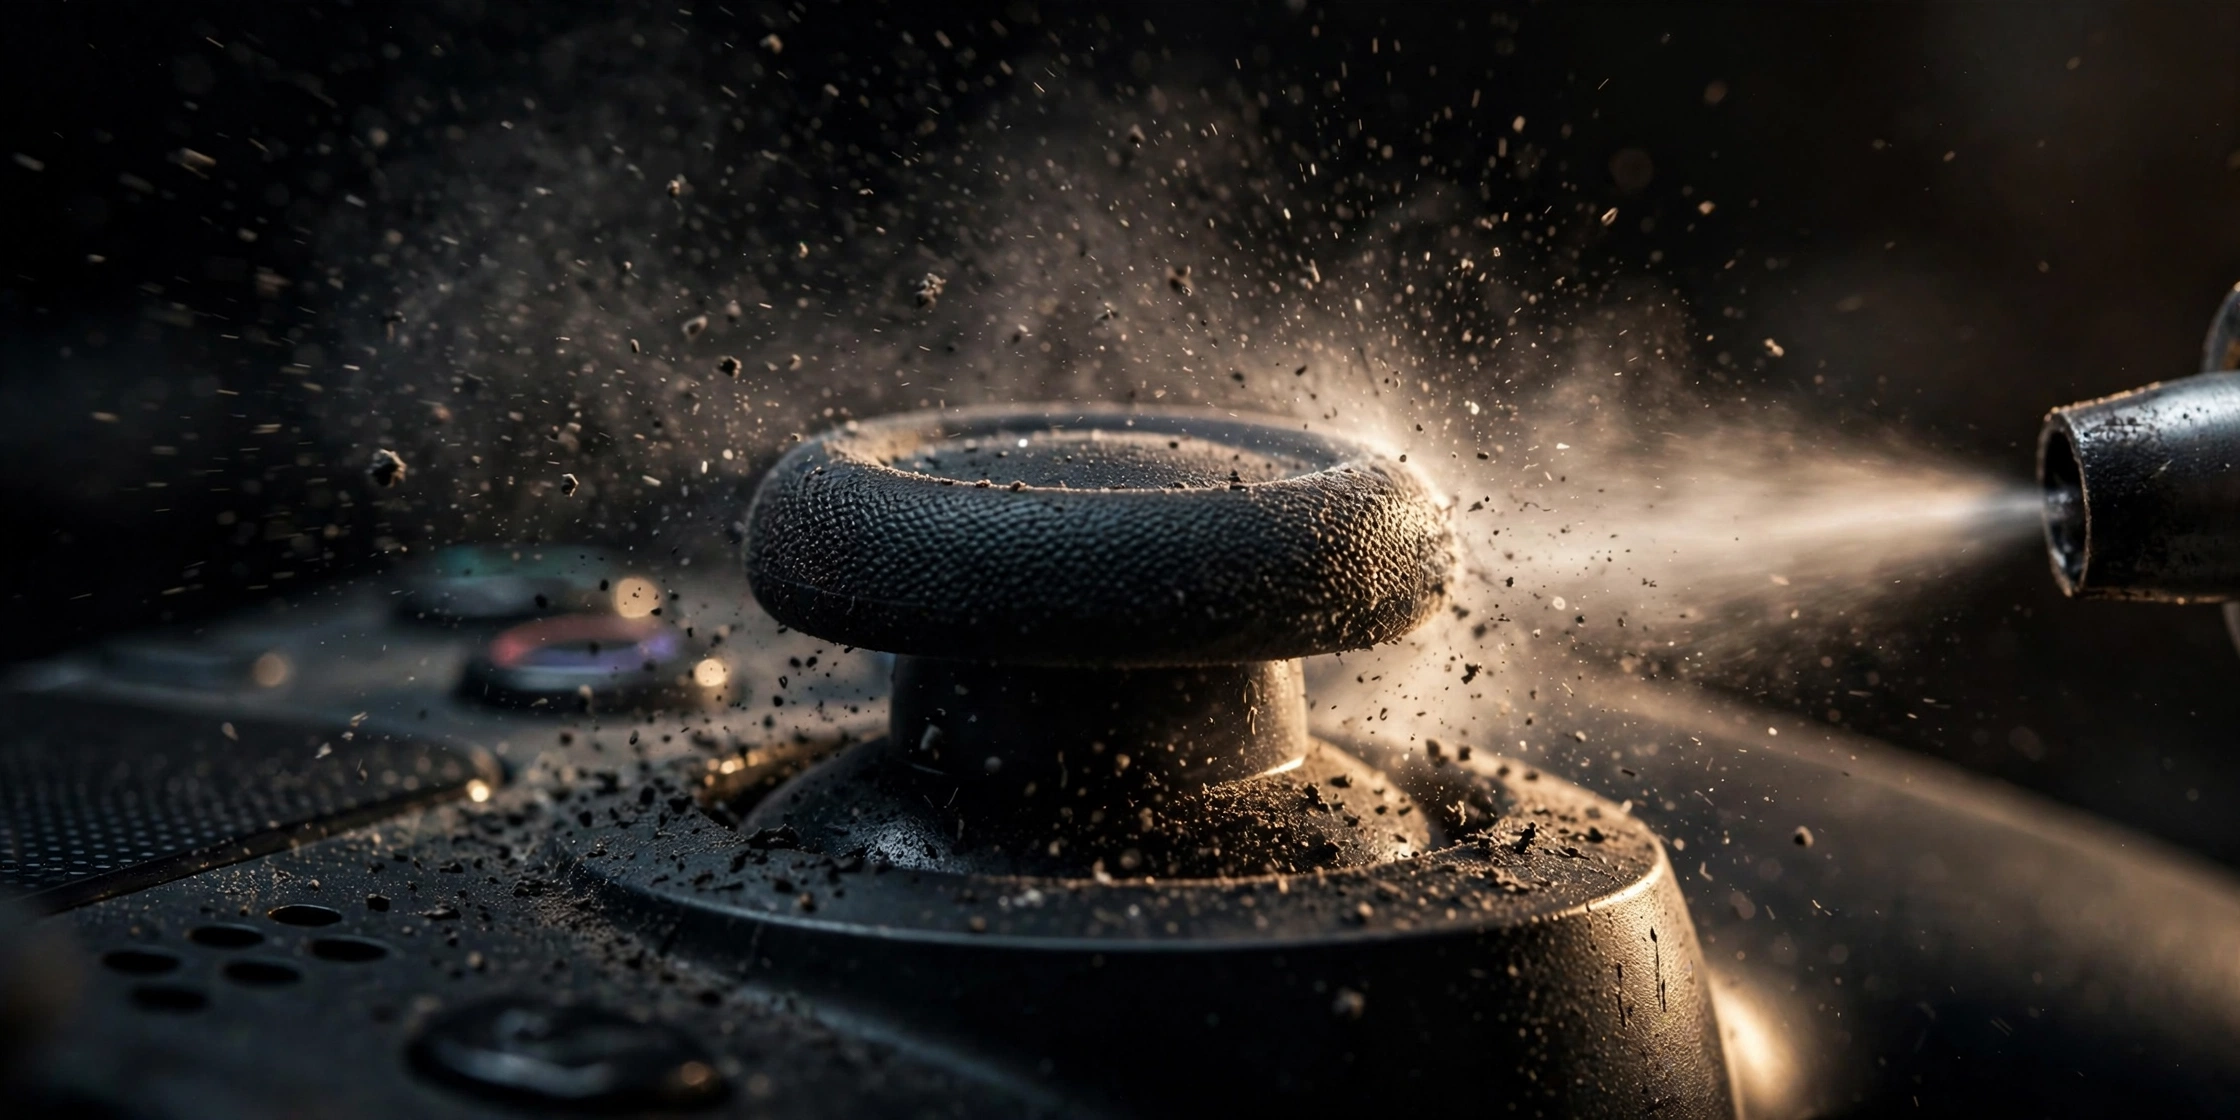
Dust is the most common drift cause, and this is the simplest way to evict it.
- Power the controller completely off.
- Tilt the drifting stick fully to one side to open the gap at its base.
- Hold the compressed-air can UPRIGHT and give 3-4 short bursts into the gap. Tilting the can sprays liquid propellant that can damage electronics.
- Rotate the stick through its full range while you spray each newly exposed gap.
- Do both sticks, then retest on the stick drift test to see the new resting position.
This clears a real share of dust-based drift, especially on controllers that travel in bags or sit out collecting dust. If it works but the drift creeps back in a few weeks, that’s normal. Dust re-accumulates. The next fix lasts longer.
Fix 3: Contact Cleaner or Isopropyl Alcohol (15 Minutes)
When air isn’t enough, dissolve what’s stuck to the contacts.
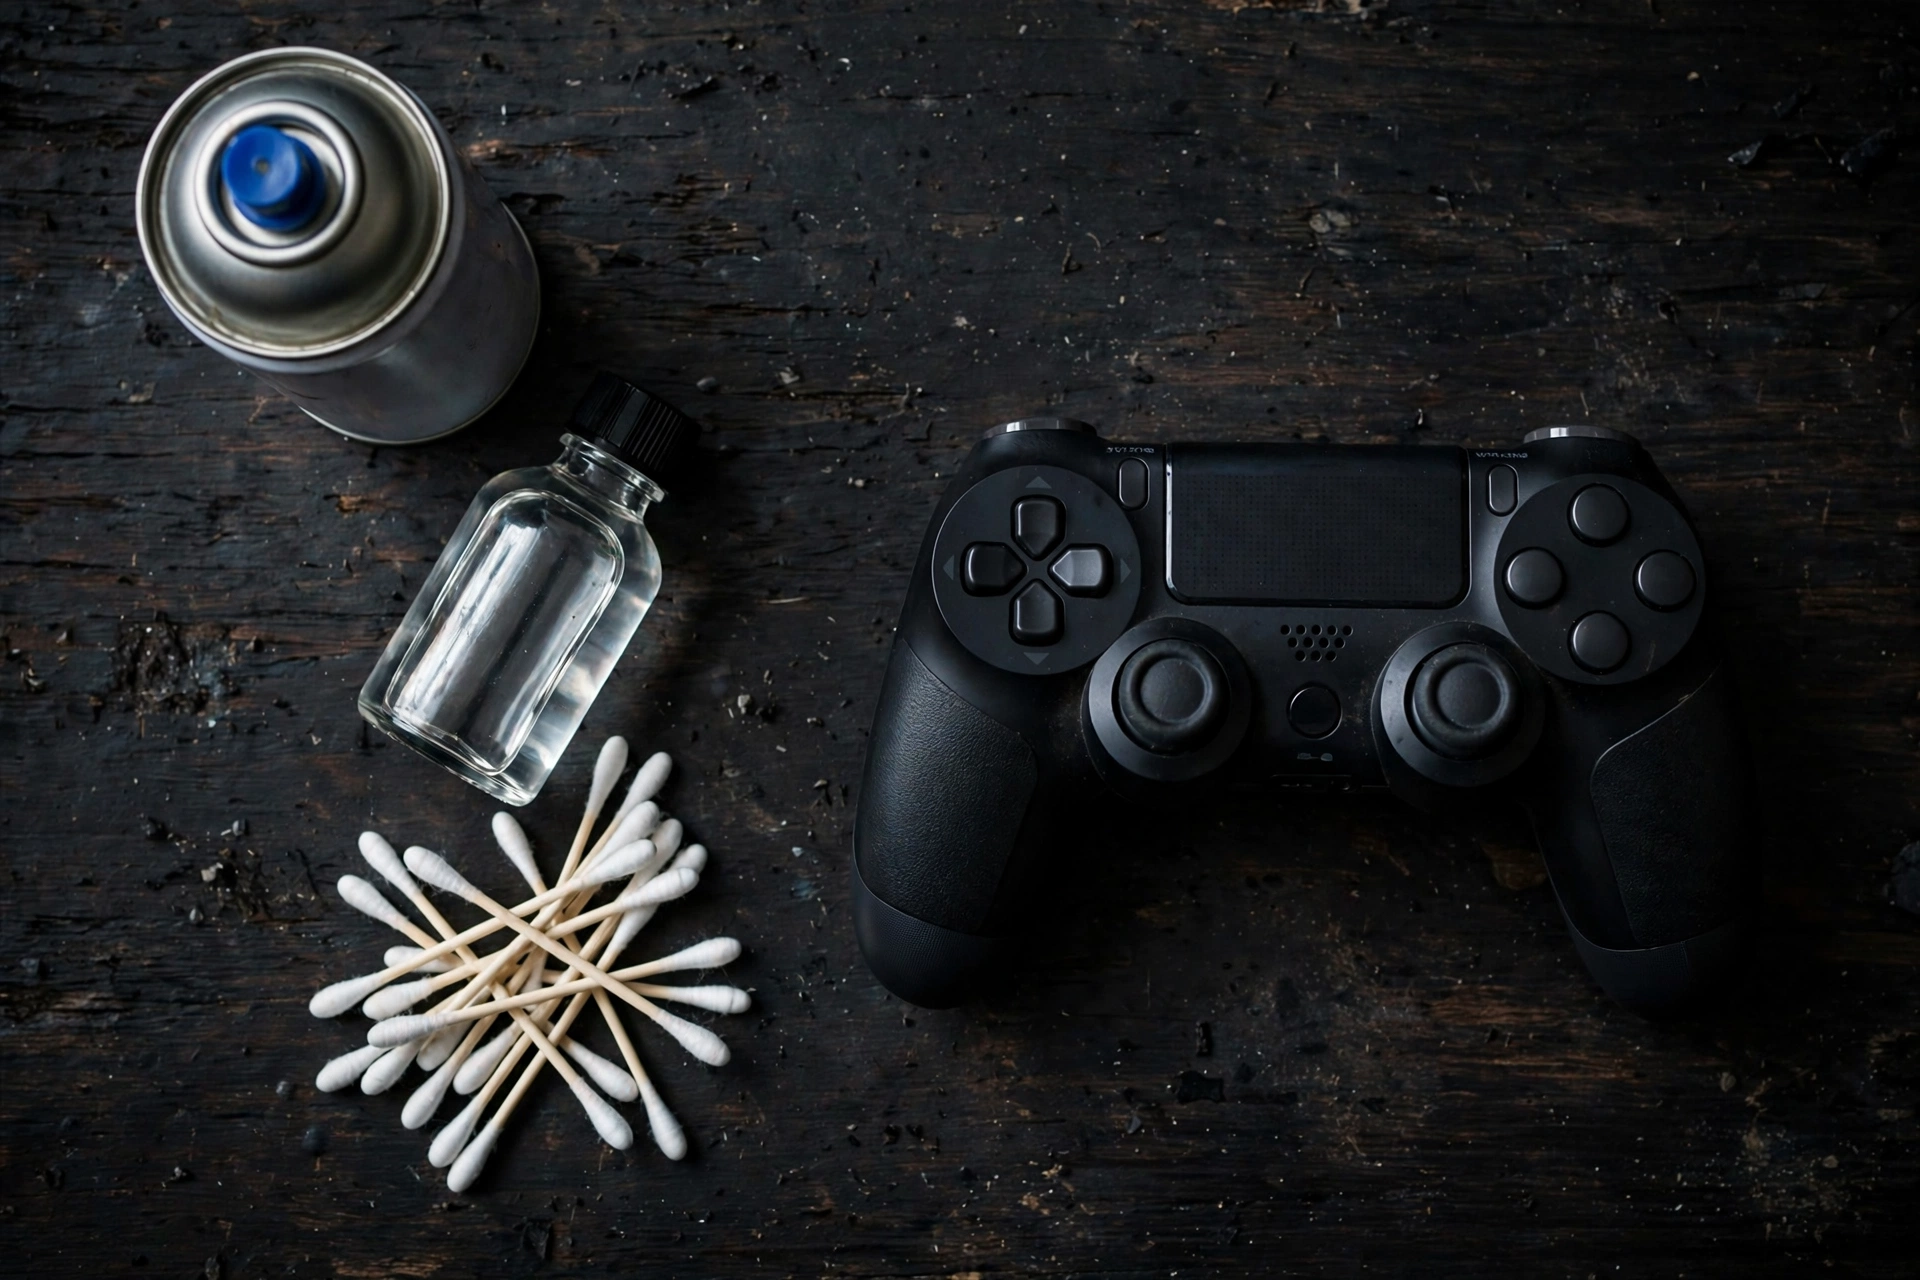
You need a plastic-safe electronic contact cleaner (CRC QD Electronic Cleaner or WD-40 Specialist Electrical Contact Cleaner). Never use regular WD-40. It is a lubricant, not a contact cleaner, and it gums up the sensor.
- Power off and unplug the controller.
- Gently lift the rubber skirt at the stick’s base with a toothpick to expose the opening.
- Give ONE short spray underneath the skirt.
- Work the stick in full circles for 30 seconds to spread the cleaner across the contacts.
- Let it dry 10-15 minutes before reconnecting, then retest on the stick drift test.
No contact cleaner on hand? A cotton swab lightly dampened with 90%+ isopropyl alcohol, wiped around the stick base and ball joint while rotating, does a lighter version of the same job. Don’t soak it. You want damp, not dripping. Let it dry fully.
Contact cleaner is the strongest fix you can do with the shell closed, because it dissolves the carbon dust that worn potentiometers shed onto their own contacts. Expect it to buy anywhere from a couple of months to a year depending on how hard you play. When you’re reapplying every few weeks, the track underneath is finished. Skip to the “when these won’t work” section.
Fix 4: Reset the Controller and Update Firmware (Free)
Sudden drift that appeared overnight is sometimes a software or calibration glitch, not wear. Rule that out before spending money.
PS5 DualSense: Turn the console off. Find the small pinhole on the back of the controller near the L2 trigger. Push a paperclip in and hold for 5 seconds, then reconnect over USB-C and press the PS button. Then check Settings > Accessories > Controllers > Wireless Controller Device Software and install any firmware update.
Xbox (One / Series X|S): Pull the batteries (or unplug the cable) for 30 seconds, reconnect, and re-pair. Then open the Xbox Accessories app and check for a controller firmware update.
Switch / Switch Pro Controller: Go to System Settings > Controllers and Sensors > Calibrate Control Sticks and follow the on-screen steps. For Joy-Con drift specifically, Nintendo runs a long-standing free repair program in many regions. Check their support site before attempting anything yourself.
Also restart the console itself and install any pending system update. A stale Bluetooth pairing can fake drift symptoms, so unpair the controller in system settings and pair it fresh over a cable.
Fix 5: Widen the Deadzone (Free Workaround)
This doesn’t repair anything, but it stops small phantom movements from registering while you decide on next steps. For barely-there drift, it can keep a controller playable for months.
The deadzone is the small area around center where the game ignores input. Raise it just past your stick’s resting offset. Measure that offset first with a deadzone test instead of guessing, then set the in-game inner deadzone slightly above it.
Where to set it: most big titles (Call of Duty, Fortnite, Apex) have it under controller or aim settings. The PS5 has no system-wide deadzone for a standard DualSense, so it’s per game. DualSense Edge owners get system-level deadzone profiles, and Xbox Elite Series 2 owners can set them in the Xbox Accessories app.
Honest warning: this is a mask, not a repair. The wear continues underneath, and every extra bit of deadzone makes fine aim feel mushier. Use the smallest value that hides the drift.
Fix 6: Recalibrate on a PC (Windows)
Consoles give you limited calibration options, but a PC gives you more.
- Connect the controller over USB.
- Search Windows for “Set up USB game controllers” and open it (joy.cpl).
- Select your controller, click Properties, then the Settings tab, then Calibrate.
- Follow the wizard, leaving the sticks perfectly centered when it asks.
This re-centers sticks suffering from a software offset rather than physical dirt. It won’t rebuild a worn contact track, but it’s free and takes two minutes.
When These Fixes Won’t Work (Read Before Spending More)
No closed-shell method rebuilds a physically worn sensor track. Here’s how to recognize you’re there:
- Drift returns within days of a thorough cleaning.
- The stick pulls hard in one direction the moment you release it, or drifts on more than one axis at once.
- The controller stays unplayable even with a generous deadzone.
At that point you have three real options, in this order:
- Use the warranty. Sony and Microsoft both cover drift for one year from purchase in most regions, and Nintendo repairs drifting Joy-Cons free in many regions. Never open the controller before checking. Disassembly voids the warranty.
- Pay for repair. Manufacturer repair usually runs $30-50. A local shop is often in the same range.
- Replace the stick modules yourself. Standard modules run $5-10 a pair, but it’s a soldering job on most controllers. While you’re in there, consider Hall effect or TMR sticks ($15-25 per stick). They read position magnetically with no contacts to wear, so this failure mode basically disappears.
One more honest note: a brand-new standard controller uses the same potentiometer design as the one that just failed. If you’re buying new, a pad with Hall effect sticks is the only purchase that actually changes the odds.
Slow the Next Drift Down
You can’t stop potentiometer wear, but you can stretch the time between failures. Store the controller somewhere it won’t collect dust instead of on the floor. Wash your hands before long sessions. Skin oil plus dust turns into the paste that gums up contacts. Ease off slamming the stick to its edge. Smooth inputs wear the track slower. And blow out the stick bases with compressed air every few weeks as routine maintenance.
FAQs
Can you really fix stick drift without opening the controller?
Yes, when the cause is dust, debris, or a calibration glitch, which covers a large share of mild-to-moderate drift. Reset, firmware updates, deadzone tweaks, compressed air, and contact cleaner all work with the shell closed. Worn-out sensor tracks are the exception: cleaning only buys time there.
Does compressed air really fix stick drift?
For dust-based drift, yes, often on the first try. Tilt the stick to open the base gap, keep the can upright, and use short bursts while rotating. It won’t help a worn contact track, but it’s the cheapest fix to attempt first.
Will resetting my controller fix stick drift?
Sometimes. A reset clears stuck calibration data and stale Bluetooth pairings, which can fake drift symptoms, especially drift that appeared suddenly overnight. Gradual, worsening drift is almost never a reset-level problem.
Does blowing into the controller with your mouth work?
It can dislodge loose dust in a pinch, but it’s not recommended. Breath moisture can corrode the contacts over time and make things worse. A $5 can of compressed air does the same job without the risk.
How long does a contact cleaner fix last?
Anywhere from a couple of months to a year depending on play intensity, and each reapplication tends to last a bit less as the underlying wear continues. If you’re respraying every few weeks, the module is worn out.
Can deadzone settings fix drift permanently?
No. Widening the deadzone hides small phantom inputs, but the physical wear keeps going underneath. Treat it as a free workaround that buys months on mild drift, not a repair.
Is stick drift covered under warranty?
Usually yes within the first year from purchase for Sony and Microsoft controllers, covering drift from normal use (not drops or spills). Nintendo has a long-standing free Joy-Con drift repair program in many regions. Always check warranty before opening anything.
When should I stop trying fixes and replace the controller?
When drift returns within days of a proper cleaning, pulls hard on release, or affects multiple axes, the sensor track is worn past rescue. Compare repair quotes ($30-50) against a new controller, and consider a Hall effect model so it doesn’t happen again.
Do Hall effect controllers get stick drift?
Effectively no, not from use. Hall effect and TMR sticks sense position magnetically with no wiper scraping a resistive track, so there’s no wearing contact surface to shed dust. They can still fail from damage or defects, but classic wear-drift doesn’t apply.
Why does only one stick drift?
The left stick usually goes first because it handles constant movement input and simply racks up more wear cycles than the right. It’s the same failure on both. One just got there sooner.
References
- iFixit, Xbox One Wireless Controller drift repair guide
2 Comments