Xbox Controller Bumper (LB/RB) Not Working? 6 Fixes That Work
Your Xbox Controller Bumper Not Working LB or RB bumper quit on you, probably in the middle of a game. RB is the shoot button in most shooters, and LB handles sprint or tactical gear, so a dead bumper ends your match fast.
Here is the good news: most bumper failures come from dirt under the button, a firmware glitch, or a loose plastic bar inside the controller. You can fix most of them at home, and the first four fixes below need no tools at all. Work through them in order and test after each one.
Why Your Xbox Controller Bumper Not Working
Knowing the cause tells you which fix to try first. Here are the four usual suspects.
The microswitch wore out
Under each bumper sits a small tactile switch called a microswitch. It is the part that actually registers the press. After hundreds of thousands of clicks, the tiny metal contact inside wears down. The bumper still moves and clicks, but the press never registers. This is the most common cause of a bumper that feels fine but does nothing.
The plastic bumper bar cracked
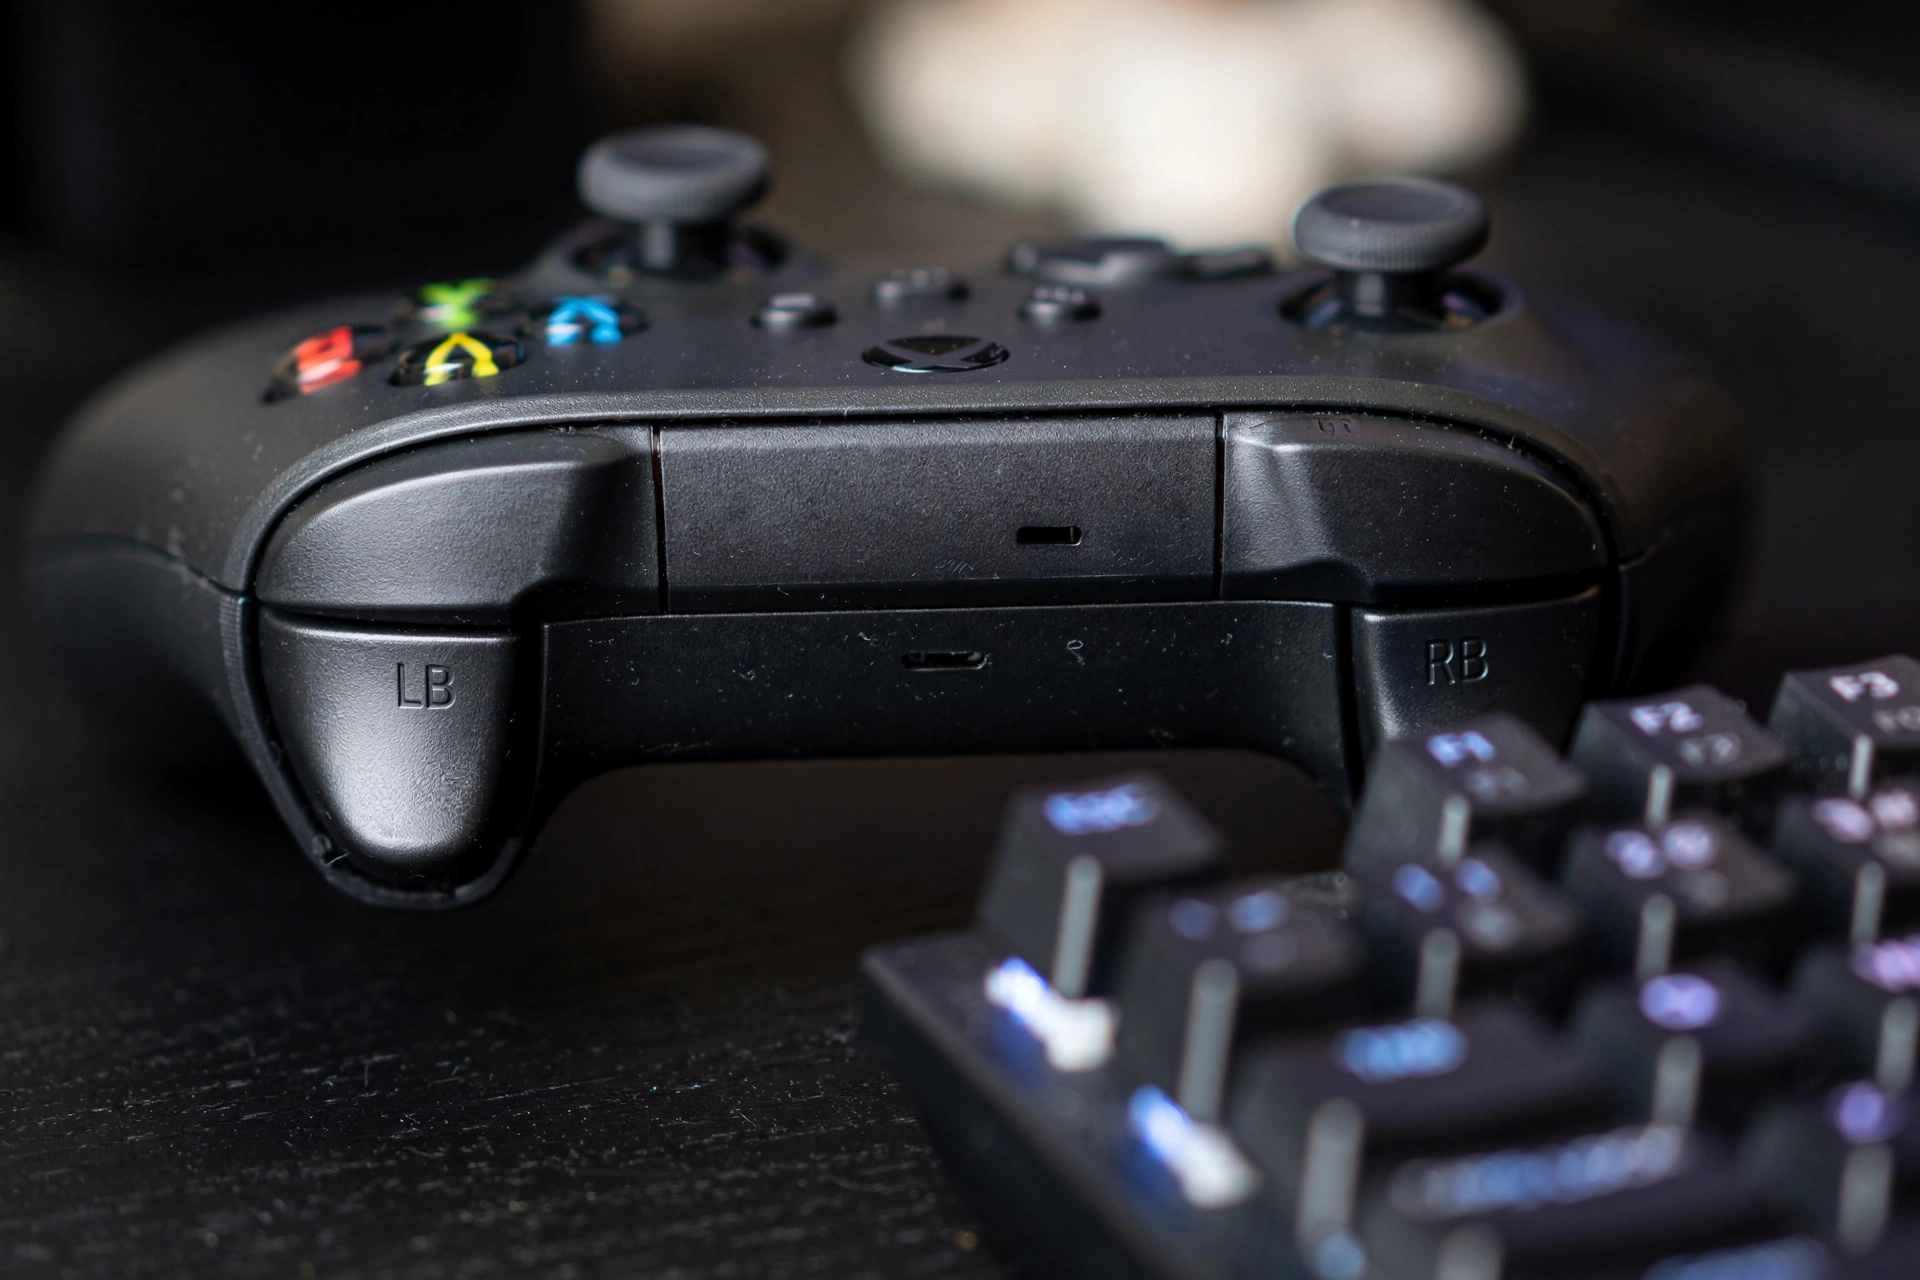
The LB and RB bumpers share one plastic bar inside the controller. It flexes a little every time you press either bumper. Over time that flexing can crack the plastic, usually near the middle or at the pivot points. A cracked bar makes the bumper feel mushy or sit crooked.
Dirt and debris got under the bumper
Crumbs, dust, pet hair, and dried sweat work their way into the seam around the bumper. Enough buildup stops the bumper from traveling all the way down, so it never reaches the microswitch. This is the easiest cause to fix.
A firmware or mapping glitch
Sometimes the hardware is fine and the software is confused. A firmware bug can knock out button input, especially right after an update. A custom button mapping can also make a bumper seem dead when it is just assigned to something else.
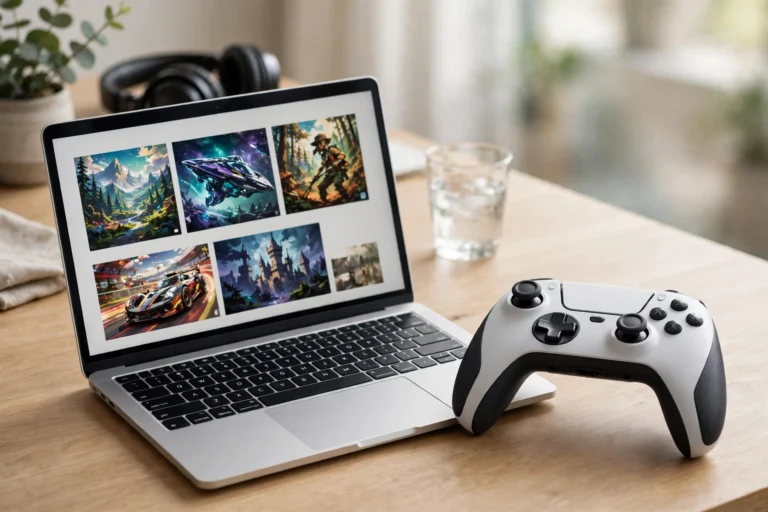
Fix 1: Test the Bumper on a Gamepad Tester First
Before you change anything, check whether the controller even sends the signal.
- Open the free tester at game-padtester.com.
- Press LB and watch the LB indicator light up.
- Press RB and watch the RB indicator light up.
If both light up, your bumpers work and the problem is in your game settings or controller mapping. Skip to Fix 4. If one bumper does not light up, the problem is in the controller itself. Keep going with Fix 2.
Fix 2: Update the Controller Firmware
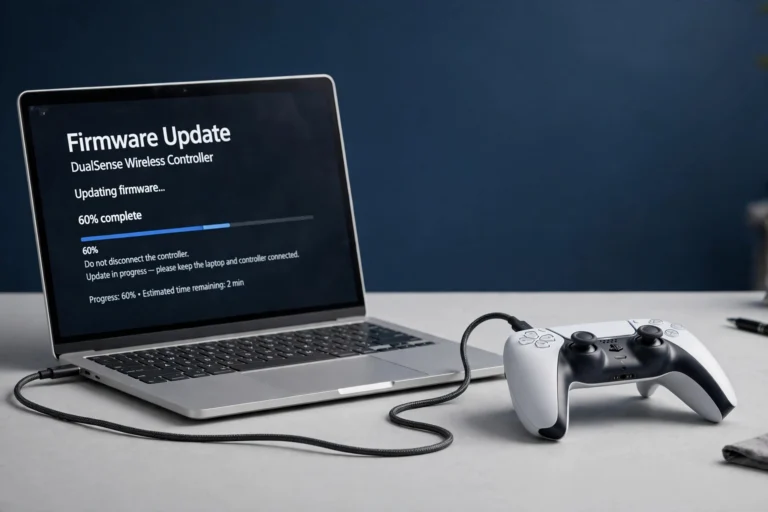
A firmware glitch can kill button input out of nowhere, and Microsoft ships fixes for these bugs in firmware updates. Do this before anything physical.
On PC:
- Install the Xbox Accessories app from the Microsoft Store.
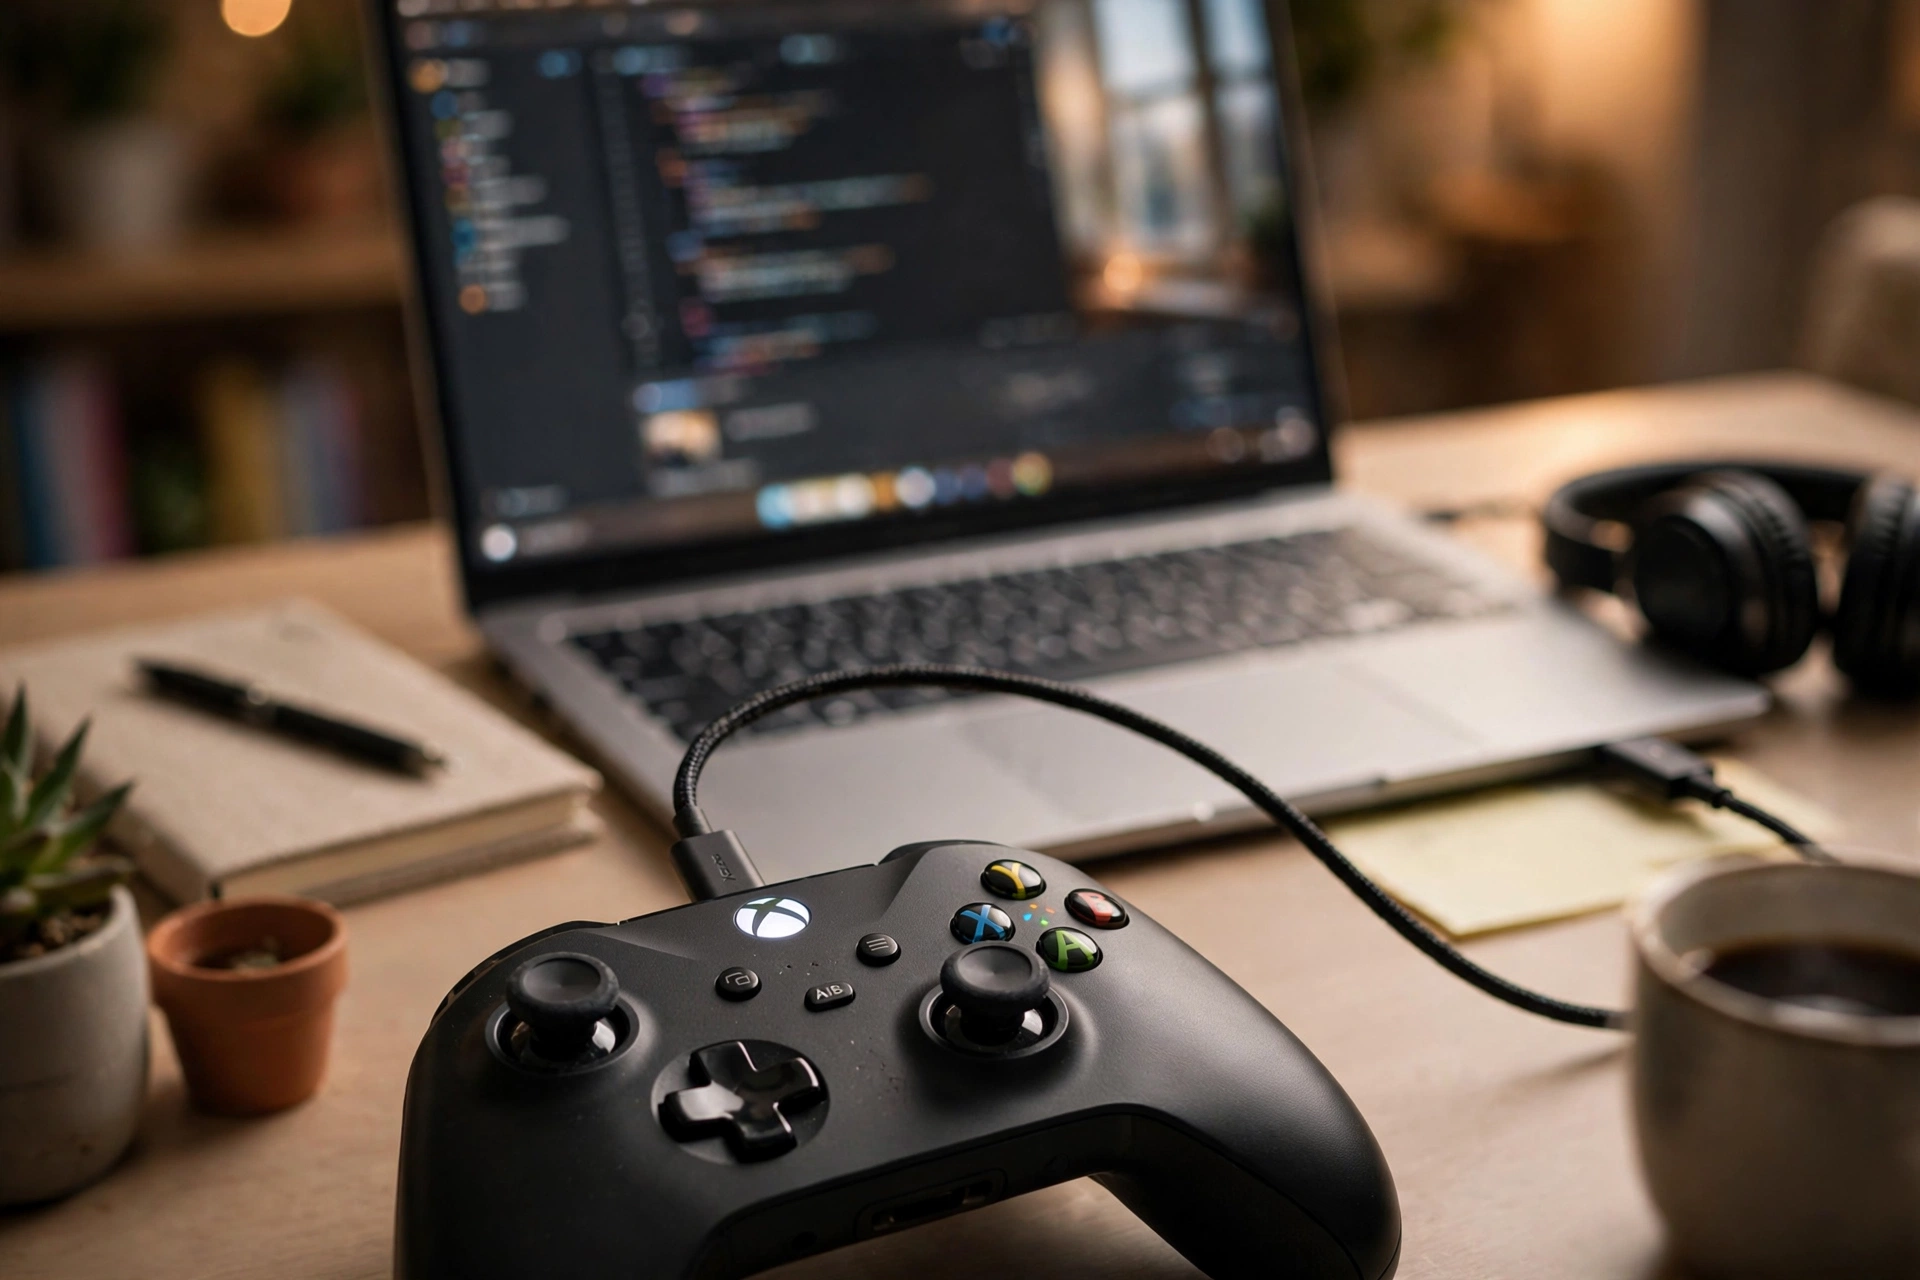
- Plug the controller into the PC with a USB cable. Use USB-C for Series X|S and Elite Series 2, micro-USB for older Xbox One pads.
- Open the app, pick your controller, and open the three-dot menu.
- Choose Firmware version and install any update it offers. Do not unplug the cable while it runs.
On Xbox console:
- Press the Xbox button and open Settings, then Devices and connections, then Accessories.
- Select your controller and open the three dots.
- Pick Firmware version and choose Update now.
The whole thing takes a few minutes. Test the bumper in the gamepad tester again when it finishes.
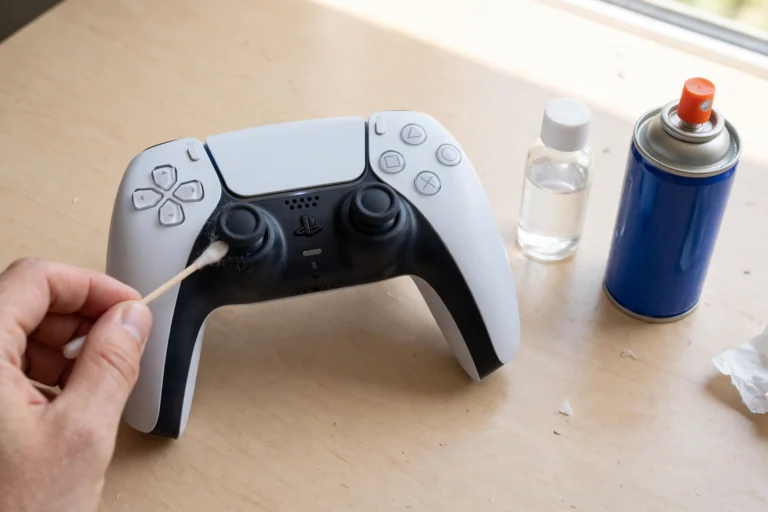
Fix 3: Clean Around the Bumper
If the bumper feels sticky or mushy, or only works when you press it hard, dirt is probably the cause. Cleaning around buttons is a safe first repair, and it also helps with stick drift.
- Turn the controller off.
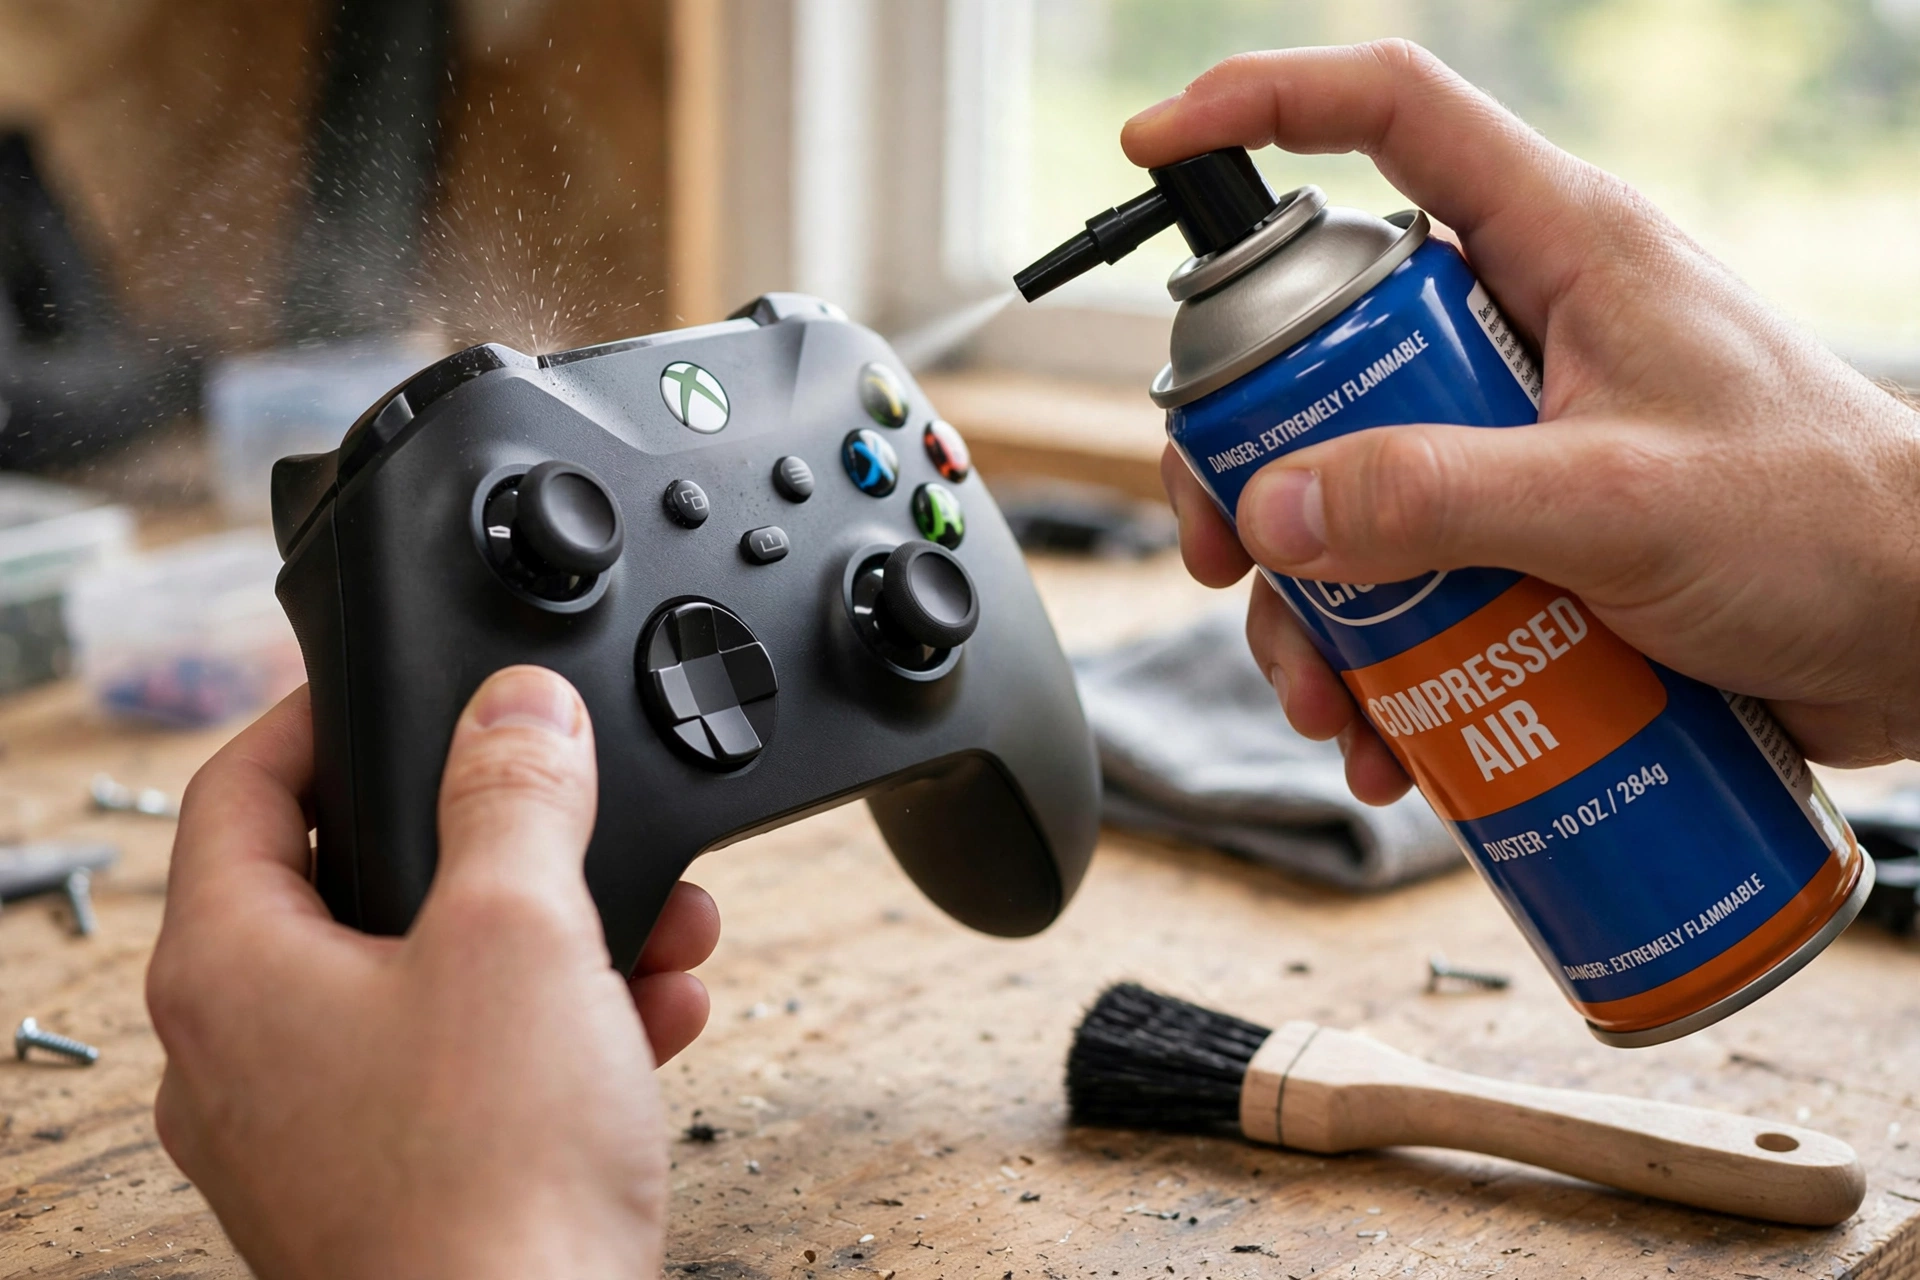
- Hold it bumper side down and give short bursts of compressed air around the seam. Keep the bursts short: long blasts can push moisture inside.
- Work a soft brush or a dry toothbrush around the edges of the bumper to loosen anything stuck.
- Dampen a cotton swab with isopropyl alcohol and wipe the seam. Let it dry fully before you turn the controller back on.
One warning: do not use WD-40 or any oil spray inside a controller. It can corrode the circuit board and turn a dirty bumper into a dead one. Stick to compressed air and alcohol.
Fix 4: Remap the Bumper to Pinpoint the Problem
The Xbox Accessories app lets you remap buttons, and that makes it a handy diagnostic tool.
- Open the Xbox Accessories app and pick your controller.
- Choose Configure, then Button mapping.
- Remap LB to a different button you know works, or remap a working button to LB.
- Test in the gamepad tester.
If the bumper works with a new assignment, the old mapping was the problem. Set the mapping back to normal and you are done. If nothing changes, the hardware is the issue.
Remapping also works as a temporary fix. Move the bumper action to a paddle or an unused button so you can keep playing while you plan a repair.
Fix 5: Open the Controller and Reseat the Bumper Bar
This is the hands-on fix. Be honest with yourself: if opening electronics makes you nervous, skip to Fix 6 and check your warranty first. Opening the controller voids the warranty.
You need a Torx T8 security screwdriver and a plastic pry tool. A basic phone repair kit has both.
- Remove the battery cover and the batteries.
- Peel back the side grip covers to reveal the hidden screws, then remove all the back screws.
- Gently pry the back shell off. Go slow around the grips so you do not snap the plastic clips.
- Find the bumper bar across the top of the front shell and the two microswitches under it.
- Look for cracks in the bar, a slipped spring, or debris. Repair guides from iFixit and the Xbox repair community also mention leftover tamper sticker debris blocking the button, so check for that too.
- Reseat the bar and the spring, clear any debris, and put everything back together.
Here is the honest diagnosis rule: if the bumper clicks normally but the press never registers on a gamepad tester, the microswitch itself is dead. No amount of cleaning or reseating will bring it back. At that point you either replace the microswitch, which needs soldering, or you replace the controller. If you have never soldered, do not learn on your main controller. A repair shop can swap the switch cheaply.
Fix 6: Check Your Warranty Before You Pay for a Repair
Xbox wireless controllers come with a 90-day warranty in the US. Check yours at Xbox Support under your devices before you open anything or buy parts.
If the controller is still covered, Microsoft will repair or replace it. That beats a DIY fix every time. If it is out of warranty, compare the price of a microswitch repair at a local shop against a new controller. Controllers go on sale often, so do the math before you spend.
Why Does the LB Button Always Break First?
This is one of the most asked questions about Xbox controllers, and the answer is in the design. The LB and RB bumpers share a single plastic bar. That bar flexes every time you press either bumper, and LB usually takes more punishment. In shooters, LB is sprint, tactical gear, or aim down sights. More presses mean more flexing, and the plastic fatigues faster on the left side.
How to Keep Your Bumpers Working Longer
Clean around the bumpers once a month with a dry brush. Store the controller flat instead of tossing it in a bag where the bumpers take the weight. Keep the firmware current. And press with your fingertip, not a full finger slam. Small habits add years.
FAQs
Why is my Xbox right bumper not clicking?
Most often the microswitch under RB has worn out, or debris is stopping the travel. Try the cleaning steps in Fix 3 first. If it still does not click, the switch or the bumper bar needs the Fix 5 repair.
How do you fix a jammed RB button?
Start with compressed air and a soft brush around the seam, as in Fix 3. If something sticky got in there, an isopropyl alcohol swab breaks it down. A bumper that stays jammed after cleaning usually has a cracked bar or a broken switch, which means opening the controller.
What causes controller buttons to stick?
Dirt, dried sweat, spilled drinks, and debris in the button seam. Stickiness is almost always a cleaning problem, not a broken part.
Can I use WD-40 on my Xbox controller?
No. WD-40 and similar oil sprays can corrode the circuit board and damage the plastic. Use compressed air and isopropyl alcohol instead.
Why is my right bumper pressing by itself?
Those are phantom presses. Debris can hold the microswitch half pressed, or a worn switch can trigger on its own. Clean around the bumper first. If phantom presses continue after cleaning, the microswitch is failing and needs replacement.
My bumper clicks but does not register in games. What does that mean?
The click you feel is the plastic moving. The registration comes from the microswitch under it. A click with no input means the microswitch is dead. Cleaning will not fix it. You need a switch replacement or a new controller.
Can I fix the bumper without opening the controller?
Yes, in many cases. Firmware updates, cleaning, and remapping fix the software and dirt causes, which cover most bumper problems. You only need to open the controller for cracked parts or a dead microswitch.
Work through the fixes in order. Most dead bumpers come back with a firmware update or a good cleaning. If you reach Fix 6 with a bumper that clicks but never registers, save yourself the trouble and check the warranty first.
2 Comments