How to Fix Switch Pro Controller Stick Drift (Without Opening It)
Your character walks off a ledge while your hands are nowhere near the stick. Your aim creeps to one side in a shooter. Your menu scrolls on its own. That is stick drift, and on the Nintendo Switch Pro Controller it is annoying precisely because the controller is otherwise so good. The good news: you do not need to open the controller, void anything, or buy a new one right away. Most drift comes from dust around the stick base or a calibration value that has slipped, and both can be fixed from outside. Work through the seven fixes below in order, testing after each one, and stop as soon as the drift is gone.

What Is Switch Pro Controller Stick Drift?
Stick drift means the analog stick sends a movement signal even when it sits in its center position. Inside the stick is a small sensor called a potentiometer that reads the stick position. When dust, skin oil, or wear changes what that sensor reads, the Switch thinks you are pushing the stick. The result is a character that walks, a camera that turns, or a cursor that moves with no input from you. Drift usually starts small, a slow creep in one direction, and gets worse over time. It can hit the left stick, the right stick, or both, and it is not the same as a broken button or a dead stick that does not respond at all.
First, Confirm the Drift Is Real
Before you fix anything, prove which stick is drifting and how bad it is. Guessing wastes time and can make you clean the wrong stick.
- On your Switch, go to System Settings, then Controllers and Sensors, then Calibrate Control Sticks. Select the stick you suspect and watch the on screen dot. If it moves or sits off center while you are not touching the stick, drift is confirmed.
- For a second opinion, plug the controller into a PC and open a free gamepad tester. Move each stick slowly through its full range and let it spring back to center on its own. A healthy stick returns cleanly to zero. A drifting stick rests off zero, jumps, or creeps after release.
- Test the same controller on a second Switch if you can, or test a different controller on your Switch. If only the one controller drifts, the fault is in the controller, not the console or the game. Note which stick drifts and in which direction before you start fixing.
Fix 1: Recalibrate the Sticks on Your Switch
Recalibration is the fastest fix and it solves drift caused by a slipped center point. It takes about two minutes and it is fully reversible.
- From the Home Menu, open System Settings, then Controllers and Sensors, then Calibrate Control Sticks.
- Press the stick that is drifting to select it, then press X to start calibration.
- Follow the on screen prompts: move the stick in slow, full circles to the edges, then let it return to center on its own. Do not rush this step. Slow circles give the Switch a clean reading of the full range.
- Finish calibration and retest on the same screen. If the dot now sits still at center, play a game for a few minutes to confirm.
Recalibrate both sticks even if only one drifts, since the second stick often shares the same dust and wear. If calibration fixes the drift but it returns within days, move on to cleaning: the sensor is dirty, not just miscalibrated.

Fix 2: Clean Around the Stick Base
Most early drift is surface grime, not a dead sensor. Dust and skin oil collect in the ring where the stick meets the shell, and that grit works its way into the sensor housing.
- Power the controller off so it cannot send stray inputs while you work.
- Tilt the drifting stick to one side to open the gap at its base, then wipe the ring with a dry, lint free microfiber cloth.
- Rotate the stick slowly in circles while you wipe, so you reach every side of the base.
- Repeat on the second stick, since dust rarely sticks to one side only.
Do not pour liquid on the controller and do not use household cleaners. A dry wipe alone fixes a surprising number of mild cases, and it costs nothing. If the stick still drifts after a wipe, the dirt is deeper and needs air.
Fix 3: Use Compressed Air the Right Way
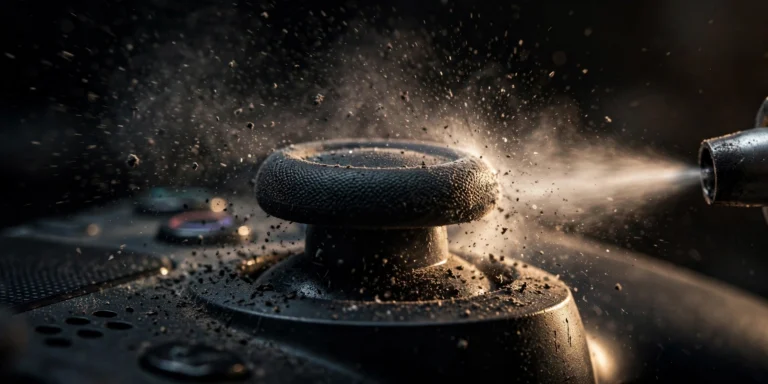
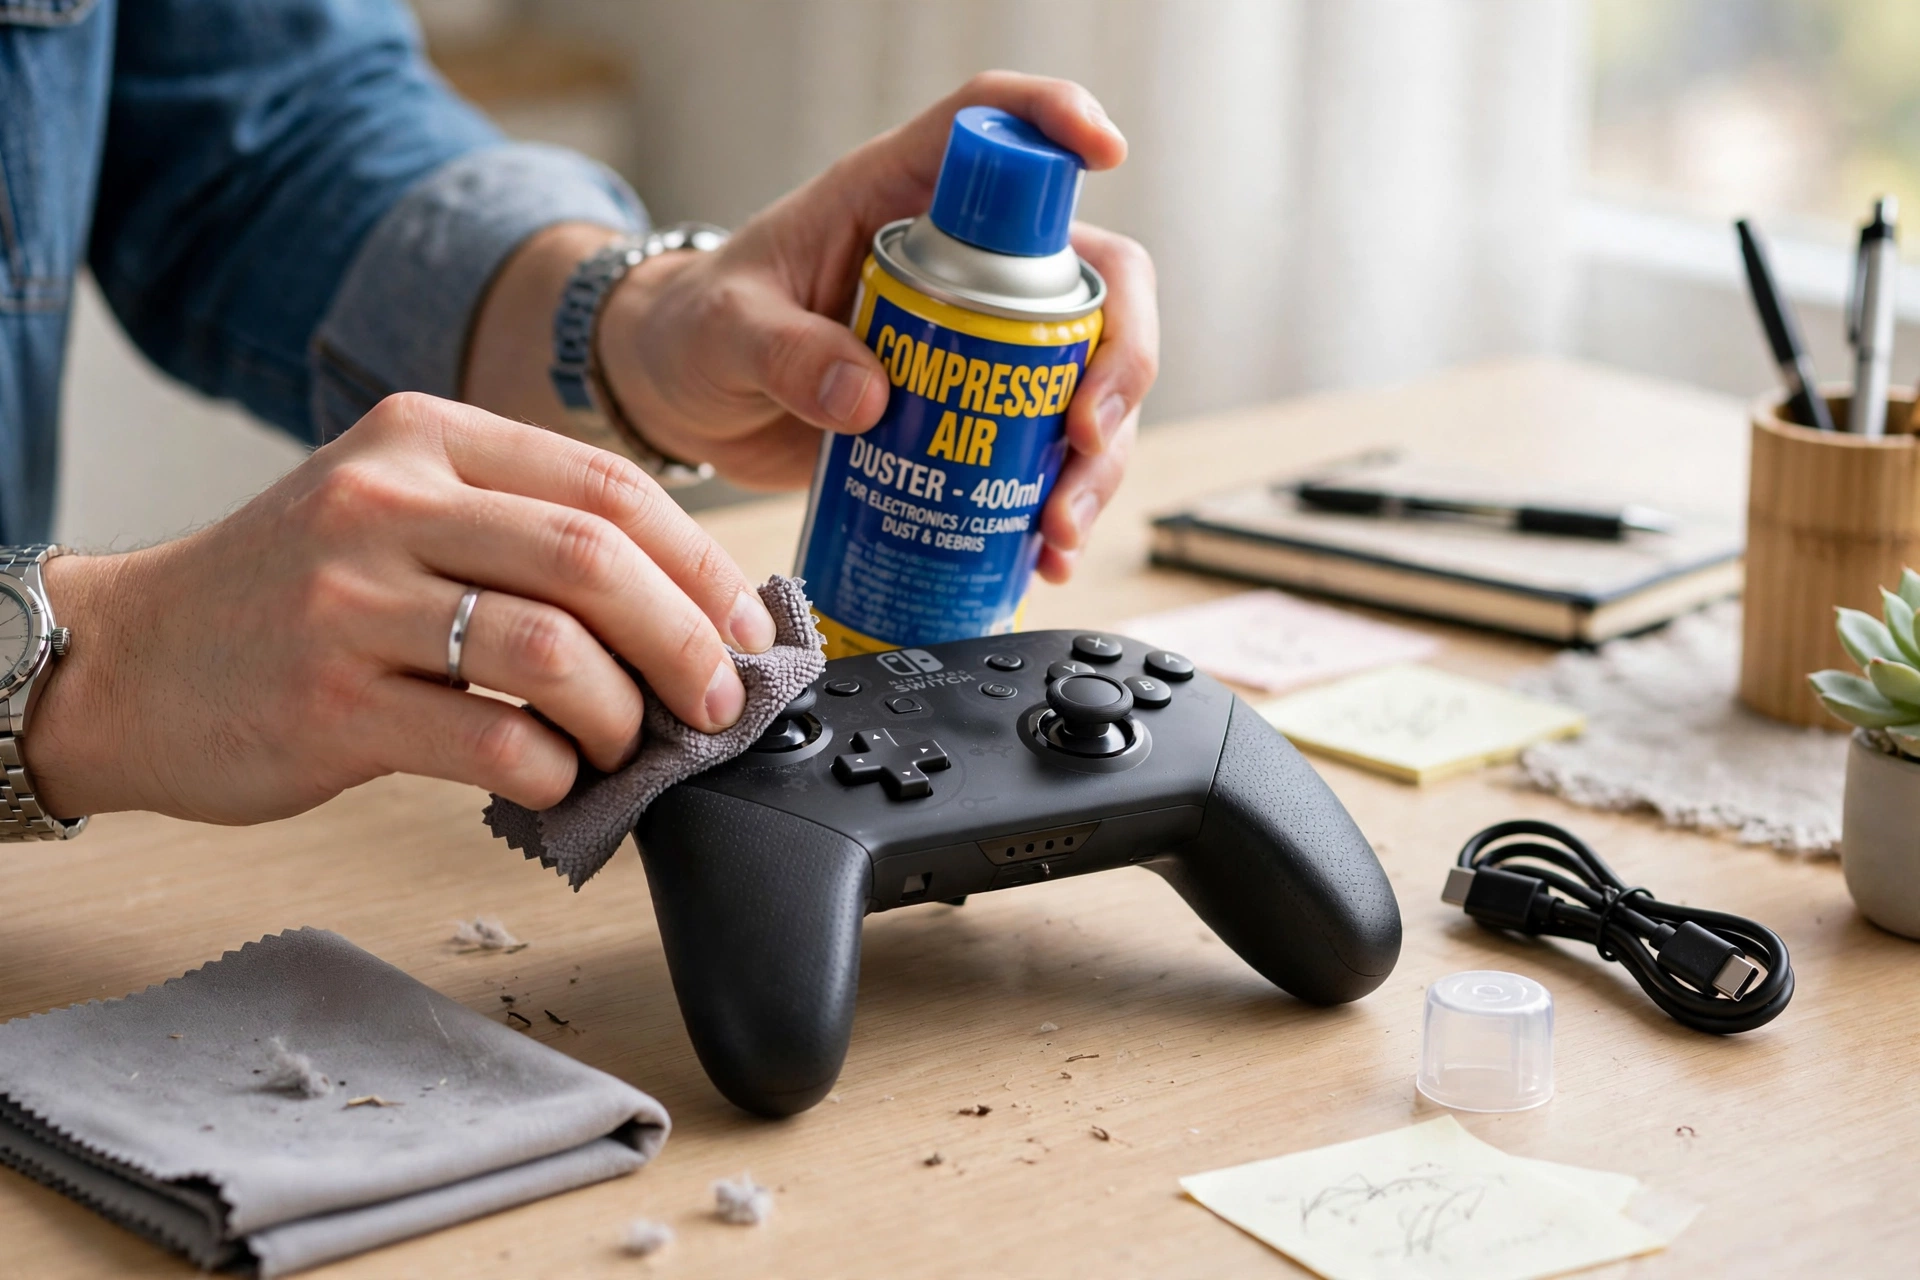
Compressed air blows loose dust out of the stick housing without opening anything. Used wrong, it can push dust deeper, so technique matters.
- Hold the controller tilted so debris can fall out instead of settling back in.
- Hold the can upright, about half an inch from the stick base. Never shake the can upside down, or liquid propellant can spray out.
- Use short bursts, not one long blast, and rotate the stick gently between bursts.
- Turn the controller and repeat from the other side, then let it sit for a minute before testing.
If you see dust puff out, that is a good sign. Retest in the calibration screen right after. Many players find this single step clears drift that a cloth wipe could not reach.
Fix 4: Try Electrical Contact Cleaner (Carefully)
If air and wiping fail, a tiny amount of electrical contact cleaner can dissolve grime on the sensor itself. This is the strongest no-open fix, so use it sparingly.
- Power the controller off and work in a ventilated room.
- Tilt the stick away from the nozzle and spray one short burst into the base of the stick. You want a light coat, not a flood.
- Rotate the stick through its full range for about 15 seconds to work the cleaner in.
- Wait at least 10 minutes for the cleaner to dry fully before you power the controller on or test it.
Only use a cleaner labeled safe for electronics. Never use WD-40, water, or rubbing alcohol poured directly into the stick. If the stick feels sticky or the drift gets worse after cleaning, stop and let it dry longer. One careful application is enough; repeat at most once.
Fix 5: Reset and Re-pair the Controller
A stale wireless connection can look like drift, especially if the controller disconnects or lags at the same time. A reset clears that state.
- Press the small SYNC button on the top of the Pro Controller once to reset it, then press any button to power it back on.
- On the Switch, go to System Settings, then Controllers and Sensors, then Disconnect Controllers, and re-pair the controller fresh.
- If you play on PC, remove the controller from your Bluetooth devices and pair it again.
Test right after re-pairing. If the drift is gone, the problem was a connection or pairing glitch, not the stick hardware. This fix also helps if your controller keeps disconnecting, which is worth ruling out before you blame the sensor.
Fix 6: Raise the Deadzone in Your Game
When cleaning and calibration improve the drift but do not remove it fully, a deadzone can make the controller playable again. A deadzone is a small zone around the stick center where tiny inputs are ignored. Most games let you set it under controller or sensitivity settings.
- Open your game settings and find the deadzone or stick deadzone option.
- Raise it in small steps, from the default (often 0.05 or 0.10) to around 0.15, testing after each step.
- Stop at the lowest value that hides the drift. A very high deadzone makes fine aiming feel sluggish, so do not crank it to the max.
Be honest about what this fix is: it hides drift, it does not repair it. It buys you time and keeps the controller usable while you decide on repair, and it pairs well with cleaning. If you need a huge deadzone to hide the drift, the sensor is likely worn and a repair is the real answer. For related PC tuning, see our guide on how to reduce controller input lag on PC.
Fix 7: Update Your Switch System Software
Old system software can carry controller bugs, and Nintendo ships controller firmware updates inside system updates. This is an easy fix to overlook.
- Connect your Switch to the internet, then go to System Settings, then System, then System Update.
- Install any update, restart the console, and retest the sticks in the calibration screen.
- While you are there, check that the game itself is updated too, since a buggy game build can mimic drift in one title only.
If drift appears in every game, it is the controller. If it appears in one game only, check that game’s settings and updates before you clean anything.
When Nothing Works: Repair or Replacement
No-open fixes have a limit. If the drift returns within hours of cleaning, if the stick reads far off center at rest even after recalibration, or if the stick jumps and skips instead of moving smoothly, the sensor inside is worn out. At that point your options are:
- Nintendo Support: if the controller is still under warranty, contact Nintendo Support before you open anything. Opening the controller can void warranty coverage, and Nintendo has repaired drift cases even outside standard warranty in some regions.
- Professional repair: a repair shop can replace the stick module, and many now fit Hall effect sticks that use magnets instead of a wear prone potentiometer, which makes repeat drift far less likely. See the iFixit Pro Controller drift guide for a detailed walkthrough.
- Replacement: if repair costs approach the price of a new Pro Controller, replacing it is the practical choice. Keep the old controller as a spare for single player games where a small deadzone hides the drift.
Do not keep fighting a worn sensor with cleaner. Repeated spraying will not rebuild worn contacts, and it can damage the housing over time.
How to Prevent Stick Drift From Coming Back
Drift is easier to prevent than to fix, and a few habits make a real difference.
- Store the controller in a case or a drawer, not loose in a bag where dust and crumbs collect around the sticks.
- Wipe the stick bases with a dry cloth once a month if you play daily.
- Do not press down hard on the sticks or leave them pushed to one side for long periods.
- Recalibrate every few months, or right after a long gaming session where drift first appears.
- Keep food and drinks away from the controller. Sticky residue is one of the fastest ways to foul a sensor.
These habits will not save a worn sensor, but they will keep a healthy controller healthy for years. Pro Controllers are built to last, and most drift is just dirt plus time.
FAQs
Can you fix Switch Pro Controller stick drift without opening the controller?
Yes, in many cases. Recalibration, cleaning around the stick base, and compressed air fix drift caused by dust or a slipped center point, all without removing a single screw. Only a worn out sensor needs a repair or replacement.
Why does my Switch Pro Controller drift but my Joy-Con does not?
They use similar stick sensors, so both can drift, but they wear differently. Pro Controller sticks see heavier use in long sessions, and dust collects around their larger stick bases. Test each controller on the same Switch to confirm which one is actually drifting.
Does recalibrating fix stick drift permanently?
It fixes drift caused by bad calibration data, and that fix can last. If the cause is dirt or wear, drift will return until you clean the stick or replace the sensor. Recalibrate first because it is fast and free, then clean if the drift comes back.
Is it safe to spray contact cleaner into a Pro Controller?
Yes, if you use a cleaner made for electronics, spray one short burst, and let it dry fully before powering on. Never flood the stick, never use household cleaners, and never spray while the controller is on or charging.
Should I increase the deadzone or repair the controller?
Use a deadzone as a short term fix when drift is mild and you want to keep playing. If you need a large deadzone, or drift returns within hours of cleaning, repair or replacement is the better long term answer. A deadzone hides the problem; it does not fix the sensor.
Final Thoughts
Start with recalibration, then clean, then air, then contact cleaner, testing after each step. Most Switch Pro Controller drift clears up before you reach the deadzone fix, and none of these steps require opening the controller. If you work through all seven fixes and the stick still drifts, you have proven it is a hardware problem, and you can take it to Nintendo Support or a repair shop with confidence instead of guessing. For a deeper clean on another controller, see our guide on how to clean PS5 controller analog sticks, and test any controller free on our gamepad tester before and after a fix so you can see the improvement in numbers, not just feel.