Best Apex Legends Controller Settings (ALC, Sensitivity, Deadzone)
Apex Legends rewards fast movement, clean tracking and calm aim under pressure, and your controller settings decide how much of that you can actually use. The wrong deadzone makes your crosshair drift on its own, the wrong response curve makes close range fights feel wild, and copied pro settings can feel awful on a worn controller. This guide gives you a proven starting point and a clear way to tune it to your own hands.
Start with 4-3 Classic if you are new to Apex on controller. That means Look Sensitivity 4 and ADS Sensitivity 3, with the Classic response curve. It is the baseline EA points competitive players toward, it is forgiving in close fights, and it stays steady when your aim is still developing. Once that feels stable, you can test Linear or move to Advanced Look Controls, one change at a time.
Best Apex Legends Controller Settings at a Glance
Use this table as your starting point, then tune only the setting that is causing a real problem in your games.
- Look Sensitivity: 4
- ADS Sensitivity: 3
- Response Curve: Classic (test Linear later)
- Look Deadzone: Small
- Movement Deadzone: Small
- Trigger Deadzones: Default
- Button Layout: Button Puncher or Evolved
- Vibration: Off
- Target Compensation (aim assist): On
- Field of View: 90 to 110 (try 104 on PC)
4-3 Classic vs 4-3 Linear: Which Should You Pick?
Classic and Linear use the same sensitivity numbers but feel very different. Classic softens small stick movements near the center, so tracking a strafing enemy feels smooth and forgiving. Linear gives you a direct, one to one stick response, so flicks feel faster but every tiny thumb movement shows up in your aim.
Pick Classic if your aim feels shaky up close, if you are still learning recoil control, or if your controller has even a little stick drift. Pick Linear only after your deadzone is stable and Classic starts to feel slow on fast turns. Many top players run 4-3 Linear, but they pair it with a healthy controller and a low, drift-free deadzone. Copying Linear before fixing drift is the most common mistake in Apex controller settings.
If you want a deeper look at how response speed affects your aim, read our guide on how to reduce controller input lag on PC: https://game-padtester.com/how-to-reduce-controller-input-lag-on-pc/
Deadzone Settings: Fix Drift Without Killing Your Aim
Deadzone is how far you must push a stick before the game reads it as movement. Too high, and your aim feels delayed. Too low, and your crosshair moves when your thumb is resting. Your goal is the lowest deadzone that stays still when you are not touching the right stick.
Set Look Deadzone and Movement Deadzone to Small first. Load into the Firing Range, put the controller down, and watch the crosshair. If it moves on its own, raise the deadzone one step at a time until it stops. If your stick drifts badly even on a higher deadzone, the controller itself may need attention, not another settings change. Our Switch Pro drift guide explains the same test in detail, and the idea transfers directly to PS5 and Xbox sticks: https://game-padtester.com/switch-pro-controller-stick-drift-fix/
On PC, a quick hardware check also helps. Calibrate the controller first so Apex is reading clean stick input: https://game-padtester.com/how-to-calibrate-xbox-controller-on-pc/
Best ALC Settings for Apex Legends (Advanced Look Controls)
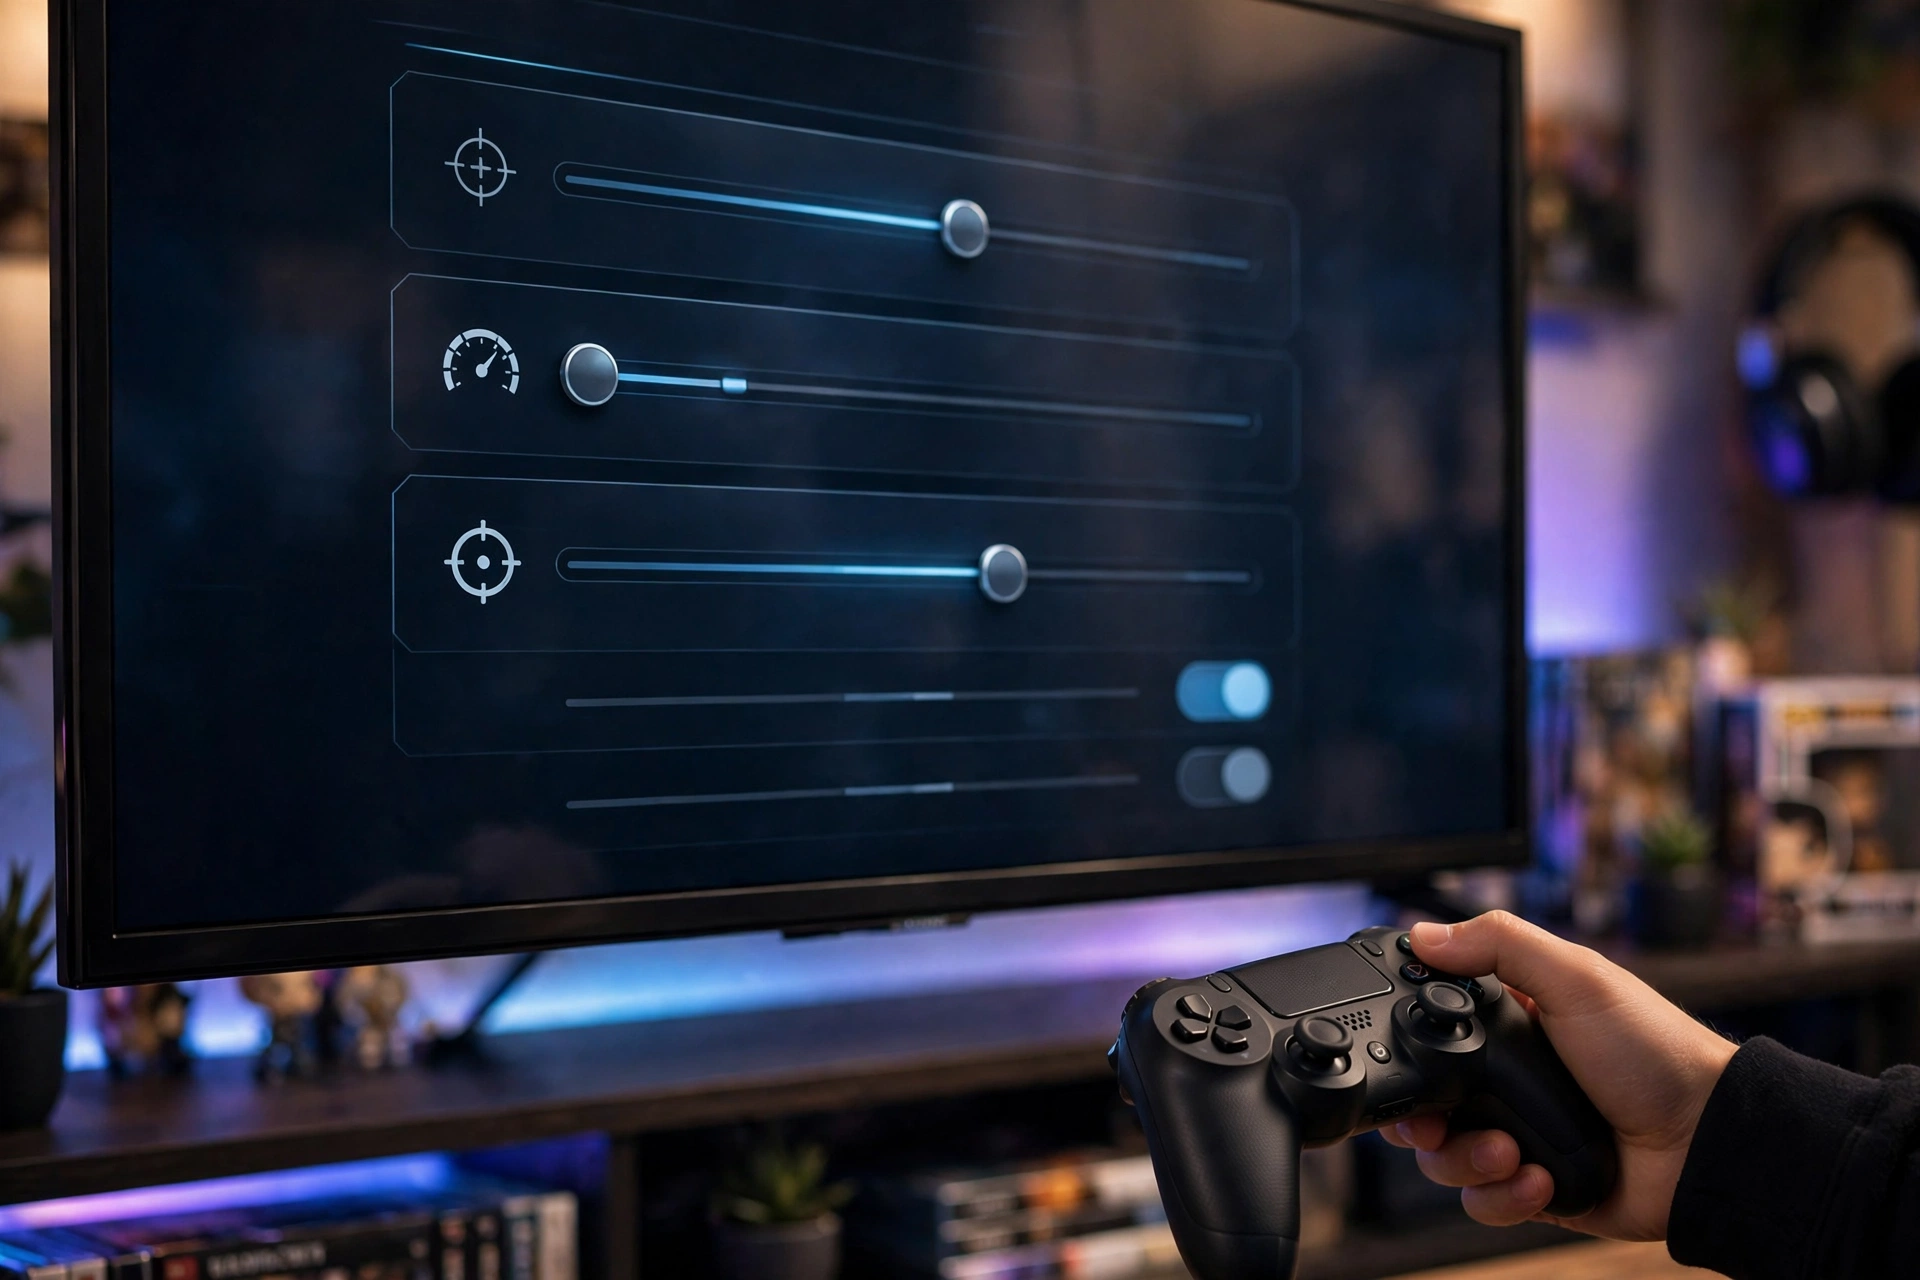
Advanced Look Controls, or ALC, unlocks every sensitivity value separately. Do not turn it on just because a pro uses it. Turn it on when standard settings cannot fix one specific problem, such as slow ADS tracking, an unstable hip fire feel, or a deadzone that sits between two preset steps.
Here is a widely used pro style ALC baseline to start from, based on the ImperialHal style setup shared across pro settings guides:
- Deadzone: 5 percent
- Outer Threshold: 0 to 2 percent
- Response Curve: Classic (about 8 in ALC terms)
- Yaw Speed: 350
- Pitch Speed: 250
- Turn Extra Yaw: 0
- Turn Extra Pitch: 0
- ADS Yaw Speed: 105
- ADS Pitch Speed: 65
- ADS Turn Extra Yaw: 0
- ADS Turn Extra Pitch: 0
- Per Optic ADS Sensitivity: 1.0 for every zoom level
Keep Yaw higher than Pitch. Pitch around 70 percent of Yaw keeps vertical corrections calm while horizontal turns stay fast. Keep per optic sensitivity at 1.0 across all scopes so your muscle memory does not change when you swap from a 1x sight to a 3x sight.
How to Tune ALC Without Ruining Your Aim
Change one value at a time, then test it for at least a few games. If your tracking overshoots, lower ADS Yaw by 10. If turns feel slow, raise Yaw by 20, not by 100. If your crosshair drifts, raise deadzone before touching sensitivity. Never change FOV, deadzone and response curve on the same day, or you will never know which change helped.
Button Layout and Movement Settings
Button Layout matters more in Apex than in most shooters because jumping, sliding and crouching all happen mid gunfight. Button Puncher swaps melee and crouch so you can crouch slide without lifting your thumb off the aim stick, and that is why it is a popular ranked choice. Evolved is a solid alternative if you prefer its jump and crouch placement. Pick the layout that lets you slide and jump without losing aim, then leave it alone for a full week.
Set vibration off. Rumble feels good in casual play, but it adds hand movement during long tracking fights and most competitive players turn it off. Keep trigger deadzones at Default unless a trigger is misfiring or feels late, in which case raise it one step only.
Aim Assist and Target Compensation Explained
Target Compensation is Apex Legends name for controller aim assist. Keep it on. It adds a small rotational help that keeps your crosshair tracking a moving enemy while your stick is already giving input, and it is a core part of why controller play feels competitive in Apex.
Aim assist does not replace aim. It will not fix a deadzone problem, a sensitivity that is far too high, or bad positioning. If your fights feel inconsistent, check deadzone and response curve first, then spend time in the Firing Range before blaming aim assist. For more on aim assist in general, see the official EA Apex Legends settings guidance linked at the end of this guide.
Best Apex Legends Controller Settings for PS5
PS5 players should start with 4-3 Classic, Small deadzones, vibration off and Target Compensation on. DualSense sticks wear over time, so if drift appears, raise the deadzone before switching to Linear. A low deadzone on a drifting DualSense stick will make Linear feel twitchy and unreliable.
Use a wired connection or a low latency wireless mode when you play ranked, and keep your controller firmware updated. Firmware and connection issues cause more “my aim feels off” days than sensitivity ever does.
Best Apex Legends Controller Settings for Xbox
Xbox players use the same 4-3 Classic baseline, Small deadzones and vibration off. The Series X and S controllers have a similar stick feel to the DualSense, so the same drift rule applies: fix drift with deadzone first, then test Linear.
If your Xbox controller disconnects or stutters mid fight, fix that before tuning sensitivity, since a dropping connection will ruin any settings test. Our Xbox disconnection guide covers the usual fixes: https://game-padtester.com/xbox-controller-keeps-disconnecting-from-pc/
Field of View and Performance Settings
EA recommends a field of view between 90 and 110 in Apex Legends. A wider FOV shows more of the fight around you, which helps with third parties and close range tracking, but it also makes distant enemies look smaller. Try 104 as a middle ground, then adjust by 2 or 3 in either direction based on how comfortable long range fights feel.
On PC, turn V-Sync off unless you see screen tearing, and enable Nvidia Reflex on a compatible GPU for lower latency. Stable frame rate matters more than maxed graphics here, so lower demanding graphics settings until your frame rate stays steady in busy fights.
How to Test Your Settings in the Firing Range
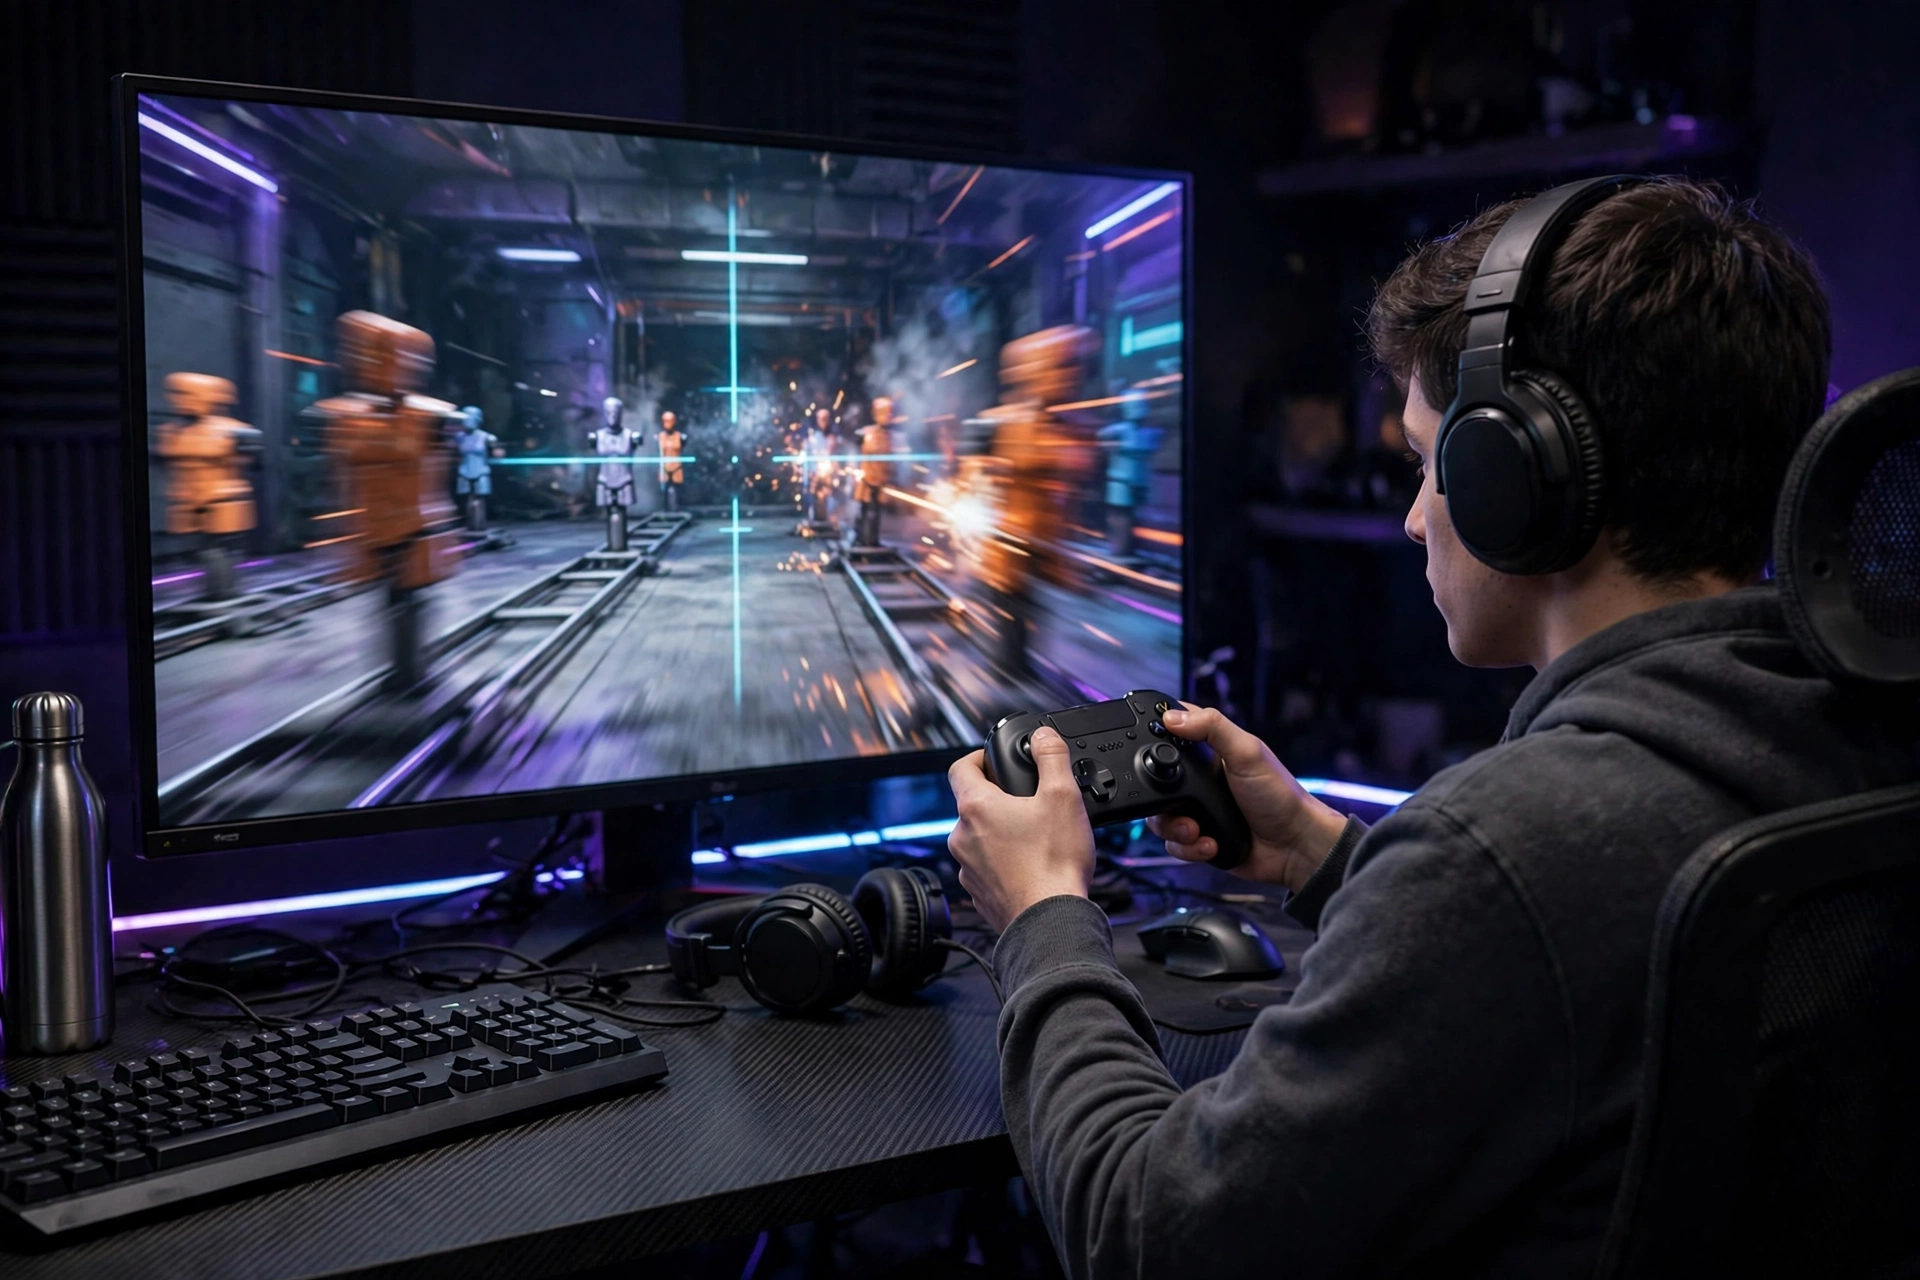
The Firing Range is the safest place to test a change, because ranked games punish every experiment. Use this simple routine:
- Stand still and check for drift with your thumbs off the sticks.
- Track the moving dummies at mid range for one full magazine without stopping.
- Practice flicks between two targets at different distances.
- Test recoil control on your main weapon at close and mid range.
- Play three casual games before judging the change, then decide.
If a setting only feels good in the Firing Range but falls apart in real fights, it is not your setting yet. Give it a full session, and only keep changes that survive third parties, rotations and close range chaos.
Common Apex Controller Mistakes to Avoid
Copying a full pro ALC setup onto a drifting controller is the biggest one. Pro settings assume healthy sticks and hundreds of hours of muscle memory. Changing five settings at once is the second mistake, because you cannot tell which change helped or hurt. Maxing sensitivity for faster turns is the third, since it makes micro adjustments shaky and recoil harder to control.
Finally, do not chase a new setup every week. Apex aim is muscle memory, and muscle memory needs stable settings. Pick a baseline from this guide, tune one problem at a time, and give the final setup at least two weeks before judging it.
FAQs
What are the best Apex Legends controller settings for beginners?
Start with 4-3 Classic, Small deadzones, Button Puncher, vibration off and Target Compensation on. It is the most forgiving baseline and the easiest to tune later.
Should I use Linear or Classic in Apex Legends?
Use Classic if you want steadier tracking and you are still learning, or if your controller drifts at all. Use Linear only after your deadzone is stable and Classic feels slow on fast turns.
What deadzone should I use in Apex Legends?
Use Small, or the lowest ALC deadzone that stops your crosshair from moving on its own. Raise it one step at a time if drift appears, and do not set it to None on a worn stick.
Are ALC settings worth it in Apex Legends?
Yes, but only when standard settings cannot fix a specific issue. ALC gives exact control over deadzone, yaw, pitch and ADS speed, but it is easy to over adjust, so change one value at a time.
What FOV should controller players use in Apex Legends?
EA recommends 90 to 110. Try 104 as a starting point, then adjust slightly based on how comfortable long range fights feel.
Sources: EA Apex Legends settings guidance: https://www.ea.com/games/apex-legends/news/apex-legends-accessibility
Setup.gg best Apex controller settings 2026: https://www.setup.gg/game/apex-legends/best-controller-settings/