Best Rocket League Controller Settings for 2026 (Pro Setup)
If your car feels sluggish in the air, your flips fire when you only wanted a double jump, or you keep losing 50/50s you should win, your settings are probably holding you back, not your mechanics. Rocket League ships with camera and controller defaults that suit nobody, and most players never touch them again. The good news is that the fix costs nothing and takes about ten minutes. The pro pool has settled on nearly the same numbers for years, and you can copy that baseline today, then tune it to your own hands. This guide gives you the exact values the best players run in 2026, explains what each slider actually does, and shows you a quick test to dial everything in without wrecking your rank.
The Best Rocket League Controller Settings at a Glance
Short on time? Copy this table first, play five games, then read the rest of the guide to fine tune it.
- Camera Shake: Off
- Field of View: 110
- Camera Distance: 270
- Camera Height: 100
- Camera Angle: -4.0
- Camera Stiffness: 0.35
- Swivel Speed: 5.0
- Transition Speed: 1.2
- Steering Sensitivity: 1.40
- Aerial Sensitivity: 1.40
- Controller Deadzone: 0.05
- Dodge Deadzone: 0.70
- Controller Vibration: Off
- Ball Camera: Toggle (Triangle / Y)
- Boost: RB / R1
These numbers match the range almost every RLCS pro plays inside, and they are the same values Dexerto recommends in its updated 2026 guide. They are a starting point, not a religion. Change one thing at a time from here, and give each change at least a few games before you judge it.
Best Rocket League Camera Settings
Your camera is the biggest free upgrade in the game. It decides how much of the field you see, how early you read the ball, and how clean your aerials feel. Start with the default camera and you are playing with tunnel vision. Field of View at 110 is the one setting nearly every pro agrees on. The default of 90 hides teammates, boost pads, and opponents at the edge of your screen. At 110 you see the whole play develop, and the slight stretch at the edges is worth the information. You will occasionally see a pro at 108 or 109, but 110 is the safe pick. Distance 270 puts enough space behind your car to judge the ball without making the car feel tiny. Most pros sit between 260 and 280, and 270 is the most common single value. Go closer if you love dribbling and ground control. Go further if you want more field awareness, but past 280 the ball starts to look small and your touches get sloppy. Height 100 keeps the car centered and gives a clean view over the ball. Pros range from 90 to 110 here. Lower heights help ground dribbles. Higher heights help you see over the ball on aerial reads. If you are not sure, 100 is the middle ground that works for both. Angle -4.0 tilts the camera down just enough to read bounces and aerial height. The pro range is -3.0 to -5.0. Steeper angles make depth easier to judge in the air but flatten the ground game, so -4.0 is the balanced pick. Stiffness 0.35 is the setting most players misunderstand. It controls how tightly the camera follows your car. Low stiffness makes the camera lag behind smoothly, which feels calm and readable. High stiffness locks the camera to the car and feels twitchy. The pro range is 0.35 to 0.50, and 0.35 is the classic starting point. If the camera feels like it is fighting you on fast turns, drop stiffness before you touch anything else. Swivel Speed 5.0 and Transition Speed 1.2 control how fast the camera swings when you look around and how quickly it snaps between ball cam and car cam. Both sit in the middle of the pro range, fast enough to check your blind spots without whipping around. Camera Shake stays off. Always. It adds screen shake on hits and boosts that makes tracking the ball harder for zero benefit.
Steering and Aerial Sensitivity
Sensitivity decides how hard your car responds when you push the stick. The default of 1.00 feels slow once you have played a few hundred hours, and most competitive players run between 1.30 and 1.60. Our pick is 1.40 for both steering and aerial sensitivity. Keep the two values equal. There is no reason to run different ground and air sensitivity, and mismatched values make your muscle memory work twice as hard. Pick one number, use it everywhere, and let your hands learn it. If you are still learning the game, start at 1.20 and climb in 0.10 steps as your control improves. If you are already comfortable in the air and your turns feel lazy, try 1.50 or 1.60. Past 1.60 the car gets twitchy and small corrections become hard, which is why very few pros go there. Zen, one of the most copied pro setups in the game, runs his sensitivities in the same range, and the wider RLCS pool clusters around 1.40. One warning: do not change sensitivity and deadzone on the same day. If the car feels wrong after a change, you will not know which slider caused it. Sensitivity first, deadzone second, or the other way around, but never both at once.
Controller Deadzone: Start at 0.05
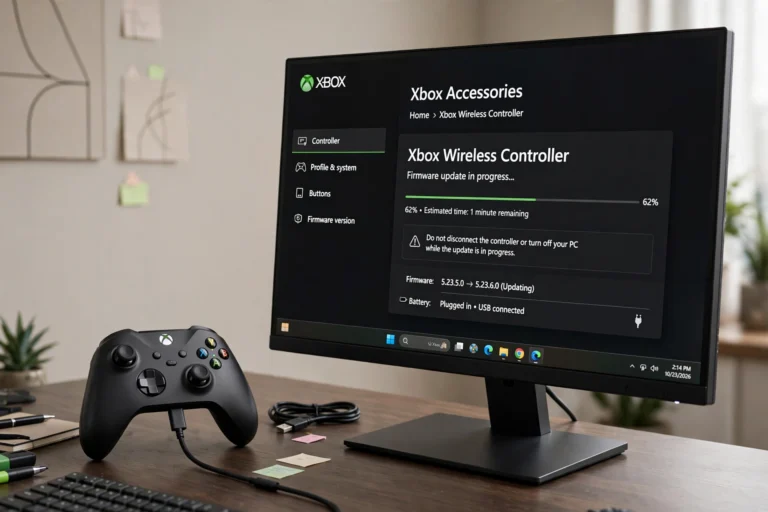
Controller deadzone is the amount of stick movement the game ignores before it starts steering. Too low and a worn stick drifts your car on its own. Too high and your small inputs never register, so the car feels dead around the center. Start at 0.05. That is the value most pros use, and it sits in the middle of the 0.05 to 0.10 range the whole pro pool plays inside. Then run this test. Load into free play, take your thumbs off the sticks, and watch the car for ten seconds. If it creeps or turns on its own, your stick is drifting and your deadzone is too low. Raise it by 0.01 and test again. Repeat until the car sits still. That lowest drift-free value is your deadzone. If your stick is healthy, 0.05 will feel crisp and responsive. If your controller has some miles on it, you may land at 0.07 or 0.08, and that is fine. Never force a tiny deadzone on a drifting stick just because a pro uses it. A drifting car loses you more games than a slightly higher deadzone ever will. If the drift is bad, check our guide on how to calibrate your Xbox controller on PC, and if the stick is worn out, our controller input lag guide covers the signs that it is time to replace the controller rather than fight the settings.
Dodge Deadzone: Stop the Accidental Backflips
Dodge deadzone is a different slider that solves a different problem. It controls how far you must push the stick before a jump becomes a flip. Psyonix added it in patch v1.35, with a default of 0.50 and a maximum of 1.00. Set it to 0.70. At the default 0.50, a fast aerial often turns into an accidental backflip, because the stick is already pushed far when you hit jump a second time. At 0.70 you need a deliberate push to flip, so your fast aerials stay clean and your double jumps stay double jumps. The pro range is 0.60 to 0.80, and 0.70 is the middle of it. If you still backflip when you meant to double jump, raise it to 0.75 and test again. If your flips feel late or you miss flicks, drop it to 0.65. Do not use dodge deadzone to fix stick drift. It will not help, and it will make your flips worse. Drift is a controller deadzone problem, full stop.
Best Rocket League Controller Keybinds
Settings get the attention, but keybinds are what unlock fast aerials. The default layout puts boost on Circle or B, which forces you to take your thumb off jump to boost. Move boost to a bumper and your aerial game changes overnight. Boost: RB on Xbox, R1 on PlayStation. This is the single most common pro bind, because it lets you hold boost and jump at the same time for fast aerials. Jump: X on Xbox, Cross on PlayStation. Keep it where it is. Air Roll Left and Air Roll Right: LB and RB on Xbox, L1 and R1 on PlayStation, or bind one directional air roll to LB and keep normal air roll on the other bumper. Directional air roll makes half flips, stalls, and tornado spins far more consistent once you learn it, and most pros use it. If you are new to directional air roll, start with just Air Roll Left on LB and add the other side later. Powerslide: LB on Xbox, L1 on PlayStation, or share the button with air roll. Powerslide on a bumper means you can drift and recover without moving your thumb. Ball Cam: Toggle on Triangle or Y. Toggle beats hold for almost everyone, because holding a button the whole match tires your hand and delays your reactions. Scoreboard and rear view can stay on the defaults. They are not used mid-play. If you play on PC with a PS5 controller and the game is not reading your inputs right, our PS5 controller not connecting to PC guide walks through the Bluetooth and Steam Input fixes.

Settings by Rank: Bronze to Grand Champion
The pro baseline above works at every rank, but the way you tune it should match where you are. Bronze to Gold: copy the table exactly and do not touch it for a month. Your biggest gains come from learning rotations and boost management, not from slider hunting. Run sensitivity at 1.20 if 1.40 feels too fast, and keep the camera at 270 distance so you can see the whole field. Platinum to Diamond: this is where deadzone tuning pays off. Run the drift test above, settle your deadzone, and start learning directional air roll on LB. Try stiffness at 0.40 if the camera feels floaty on fast challenges. Champion and above: now the small numbers matter. Test dodge deadzone between 0.65 and 0.75 to match your flip timing, and try sensitivity at 1.50 once your aerial control is consistent. Most Grand Champions sit within a hair of the pro baseline, and the ones who do not got there by tuning one slider at a time over months, not by copying a new preset every week.
How to Test Your New Settings in 10 Minutes
Do not take fresh settings straight into ranked. Run this routine in free play first. First, sit still for ten seconds with your thumbs off the sticks. If the car moves, raise controller deadzone by 0.01 and repeat. Second, drive a lap of the field and hit every boost pad. If your turns overshoot, drop steering sensitivity by 0.10. If the car feels sluggish, raise it by 0.10. Third, do ten fast aerials from your own half. If you backflip by accident even once, raise dodge deadzone by 0.05. Fourth, practice five half flips. If you cannot land them cleanly, your air roll bind needs work before your sensitivity does. Fifth, play three casual games. Casual hides your rank while your hands adjust, and three games is enough to know whether the setup feels right. If something still feels off after three games, change one value, not five. Write your final numbers down somewhere. Rocket League updates have reset settings before, and rebuilding your setup from memory is a miserable way to spend an evening.
What If Your Controller Still Feels Off?
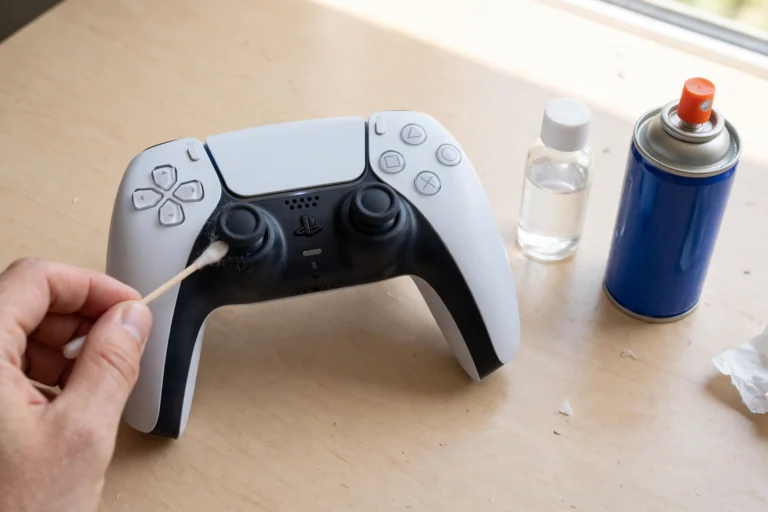
Settings fix software problems, not hardware problems. If your car drifts with the stick untouched even at a 0.10 deadzone, if buttons double fire, or if inputs feel delayed, the controller itself is the issue. A drifting stick is the most common hardware fault, and our Switch Pro controller stick drift guide explains the cleaning and calibration steps that fix minor drift without opening the controller. Double inputs have their own causes, covered in our controller double input fix guide. And if everything feels delayed rather than wrong, our guide on how to reduce controller input lag on PC walks through polling rate, wired versus wireless, and the settings that add delay. If you are on Xbox and the controller keeps dropping its connection mid-match, check our Xbox controller keeps disconnecting guide.
FAQs
What are the best controller settings for Rocket League in 2026?
Use steering sensitivity 1.40, aerial sensitivity 1.40, controller deadzone 0.05, dodge deadzone 0.70, camera FOV 110, distance 270, height 100, angle -4.0, and stiffness 0.35, with camera shake off and vibration off. These are the values most RLCS pros play inside, and they work on PC, PlayStation, and Xbox.
What is the best controller deadzone for Rocket League?
Start at 0.05 and raise it in 0.01 steps until your car stops drifting with the stick untouched. Most healthy controllers settle between 0.05 and 0.07. A worn stick may need 0.08 to 0.10, and that is better than playing with drift.
What camera settings do Rocket League pros use?
Most pros run FOV 110, distance 260 to 280, height 90 to 110, angle -3.0 to -5.0, stiffness 0.35 to 0.50, and camera shake off. Zen runs FOV 110, distance 270, height 100, angle -3.0, and stiffness 0.35, which is a good setup to copy.
Should steering and aerial sensitivity be the same?
Yes. Keep them equal so your muscle memory transfers between ground and air. Start at 1.40 for both, then adjust both together in 0.10 steps if the car feels too slow or too twitchy.
Why do I keep backflipping in Rocket League?
Your dodge deadzone is too low. Raise it from the default 0.50 to 0.70 so a jump only becomes a flip on a deliberate stick push. If you still backflip, raise it to 0.75 and test fast aerials in free play.
The best Rocket League controller settings are not a secret. They are the same numbers the pro pool has converged on for years: FOV 110, distance 270, sensitivity 1.40, deadzone 0.05, dodge deadzone 0.70, boost on a bumper. Copy them, run the ten minute test, change one thing at a time, and stop chasing new presets. Your settings should disappear into the background so you can focus on the game, and once they do, your rank will follow your mechanics instead of fighting your setup.

One Comment